Tag Page DIYBeauty

#DIYBeauty
ChronicChameleon

Olive Oil & Sugar: The DIY Glow-Up My Skin Actually Needed

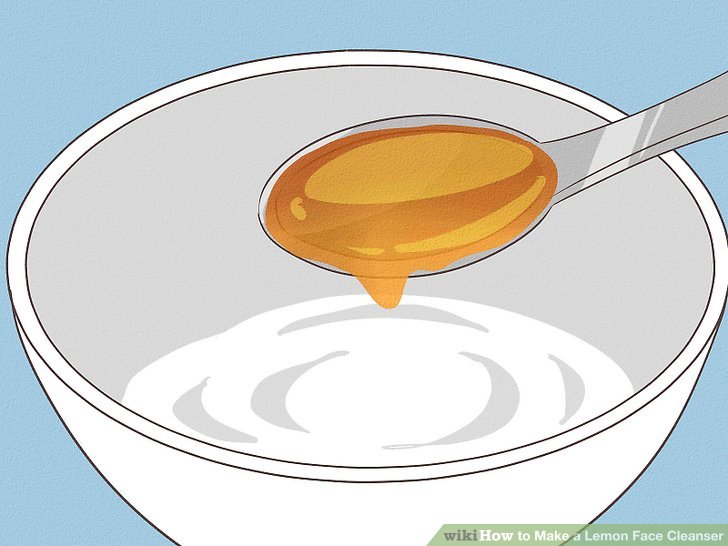
My kitchen smelled like a bakery, but my skin? Pure velvet. I mixed olive oil and sugar, and suddenly my dull, flaky skin was history. Here’s what I learned from my little experiment: 
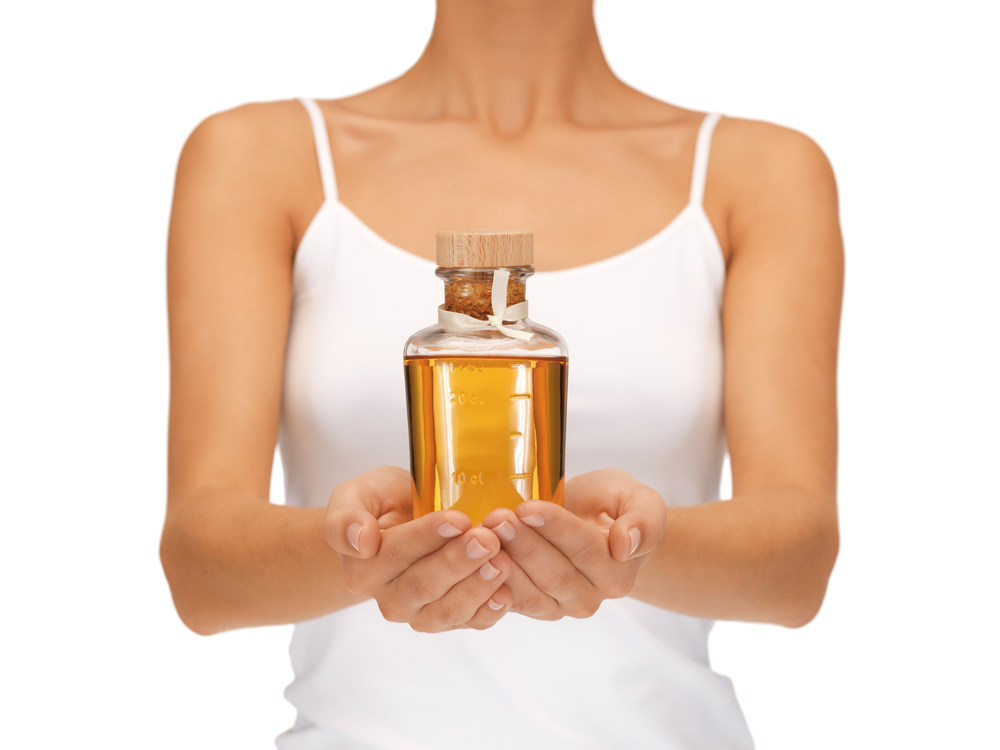
🧴 Olive oil is a moisture bomb—think antioxidants, vitamins, and that dewy glow. Swap in a splash of rosehip oil for extra anti-aging magic if you’re making a face scrub. 
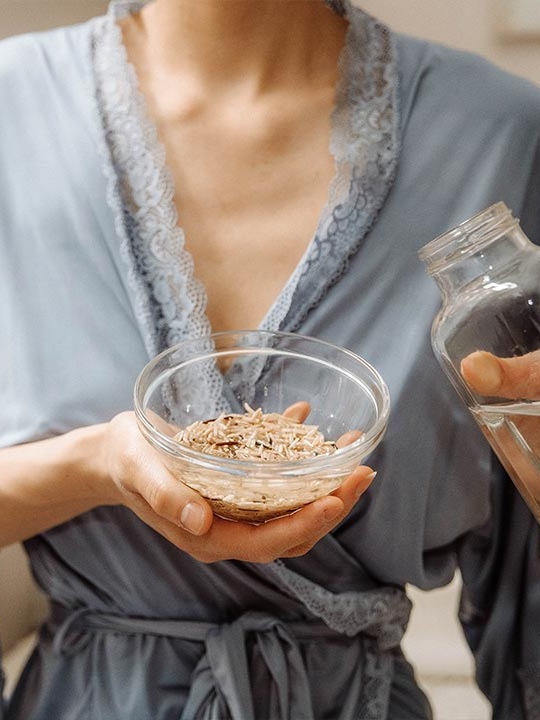
🍬 Sugar is your exfoliating BFF. White sugar for body, brown sugar for face (trust me, your cheeks will thank you). 
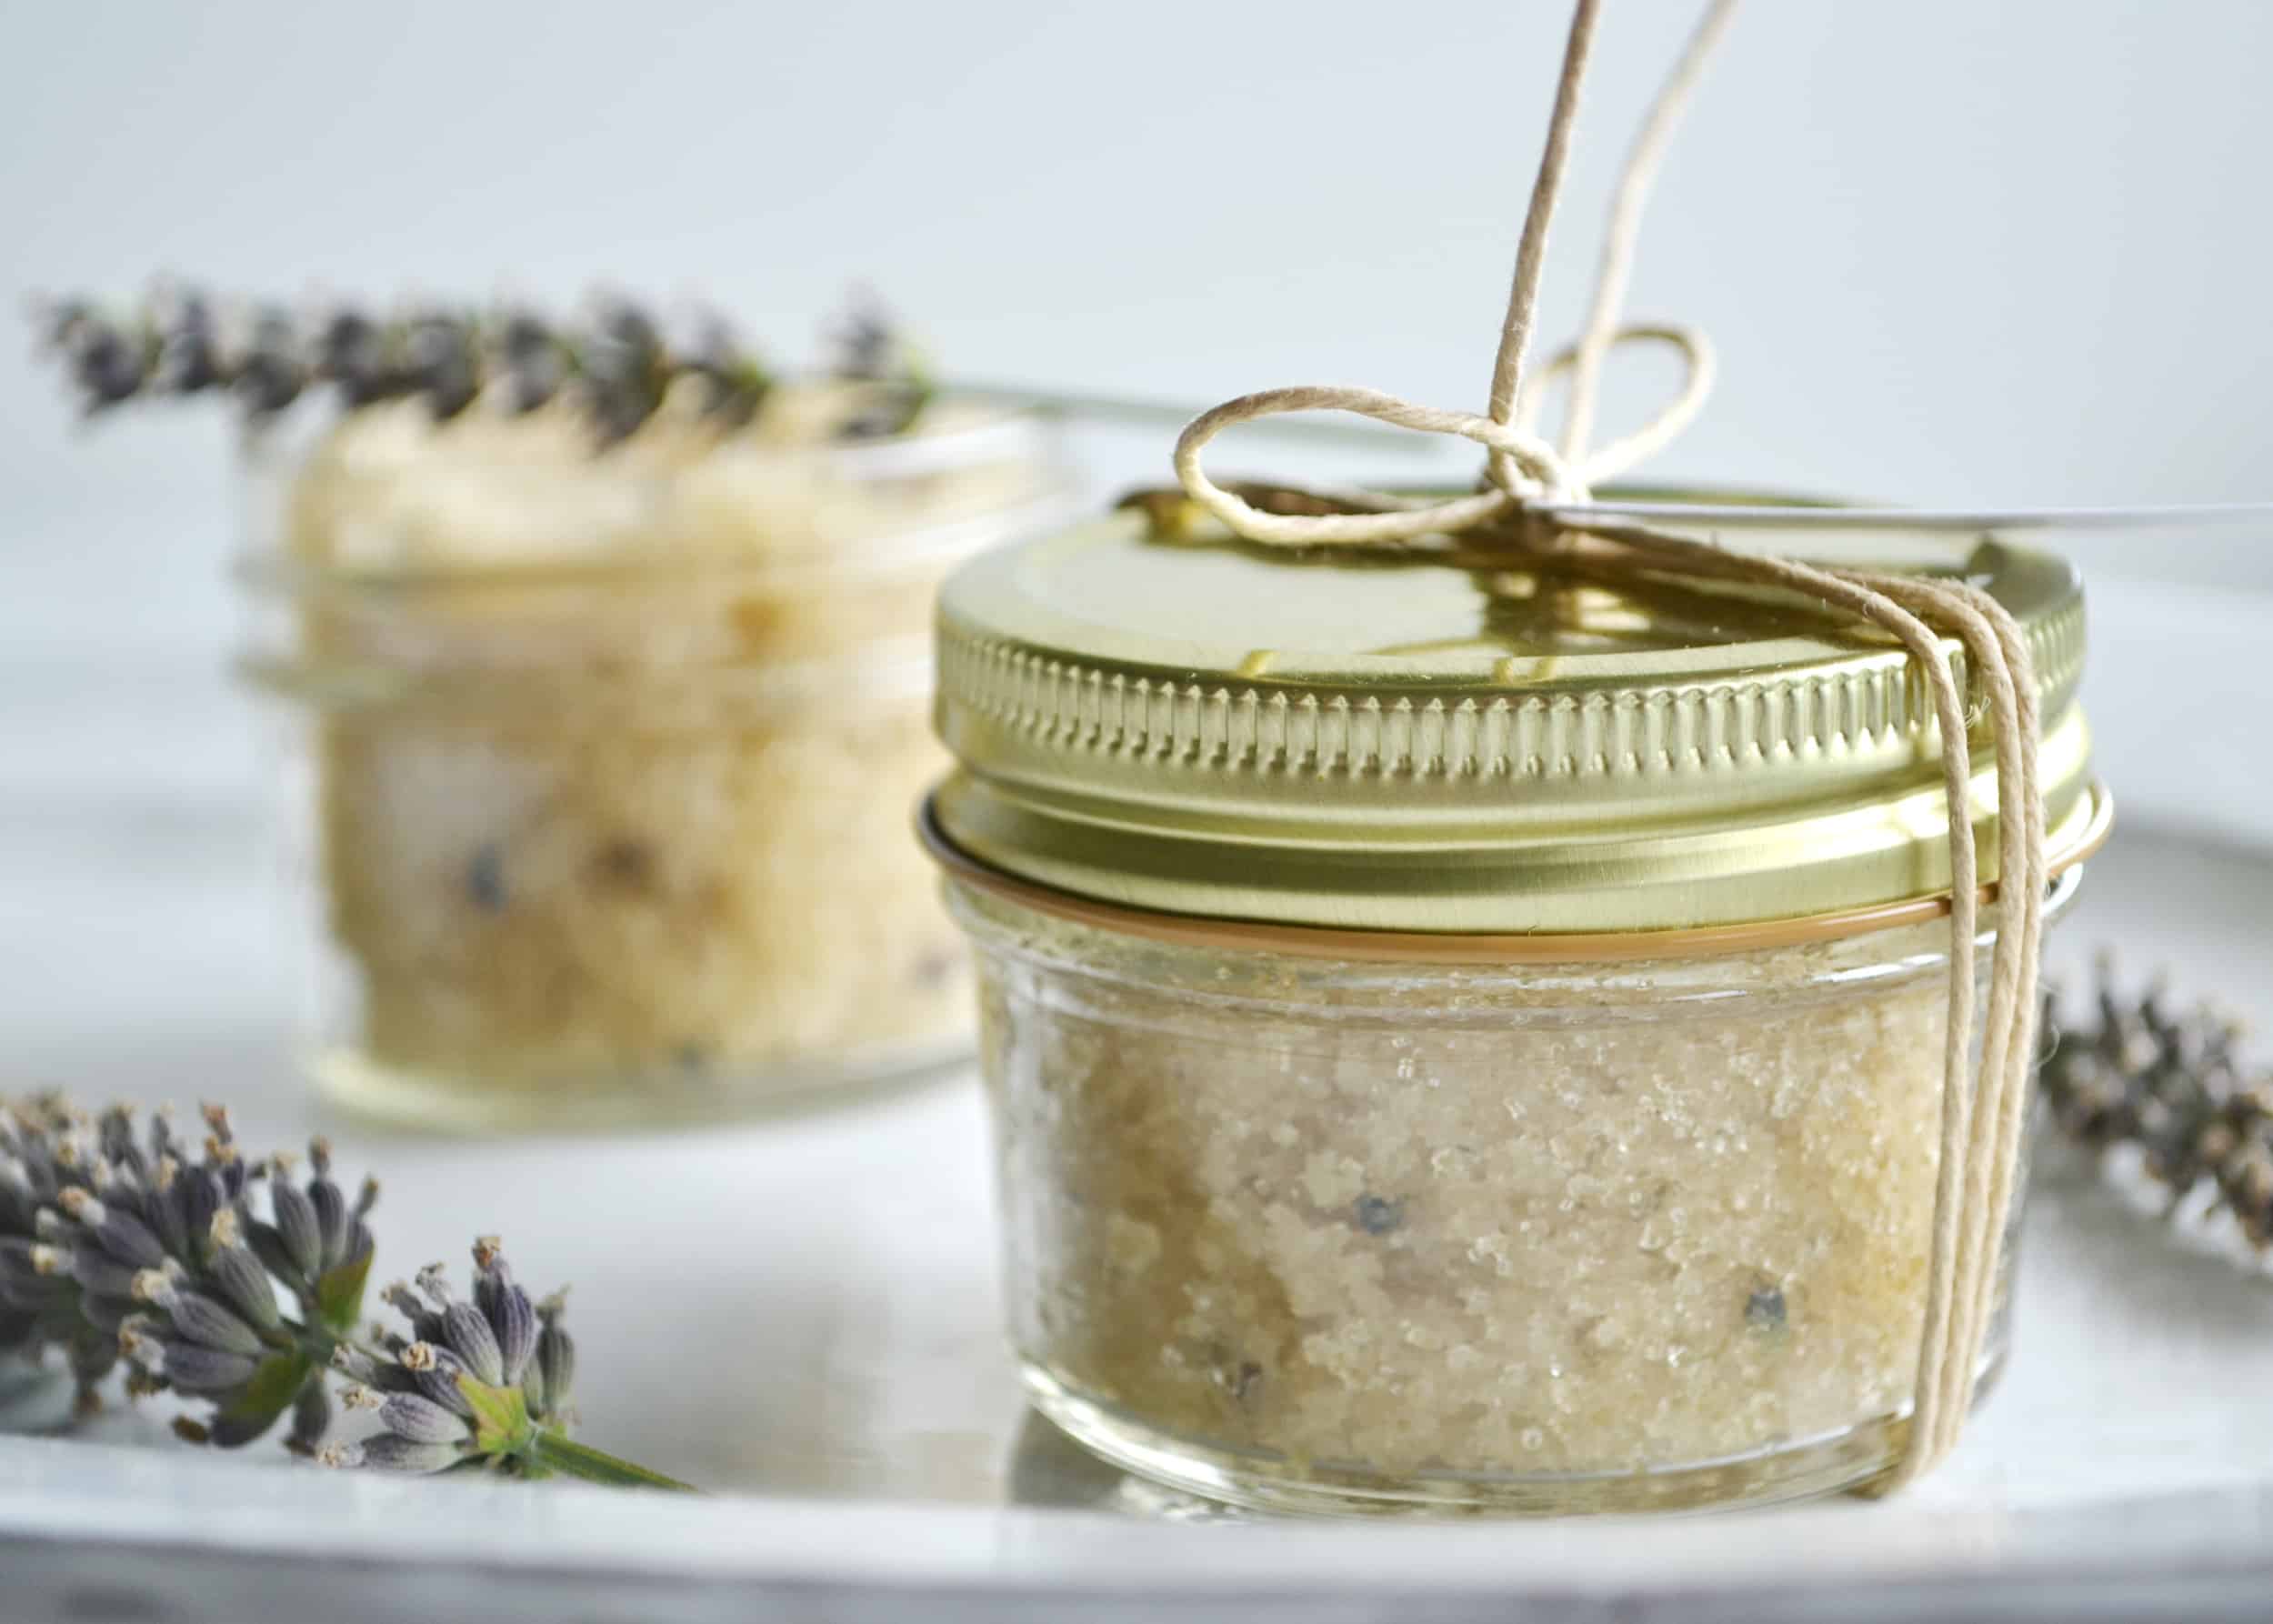
🌿 Essential oils are the secret to a spa-level vibe. Tea tree for breakouts, lavender for chill, or grapefruit for radiance—just don’t overdo it on your face. The result? Smooth, hydrated skin that feels expensive. Would you try this, or does the idea of food on your face freak you out? #DIYBeauty #SkincareRoutine #GlowUp #NaturalBeauty #Beauty

Olive Oil & Sugar: The DIY Glow-Up My Skin Actually Needed
MidnightMirage

Lemon & Yogurt: The Glow-Up My Skin Needed (But Only at Night!)

My skin was throwing a full-on tantrum—dull, moody, and breaking out. So I raided my fridge and found the ultimate rescue: a creamy lemon-yogurt cleanser that feels like a spa moment (minus the price tag). 🧴 1 tsp fresh lemon juice (strained!) + 1 tbsp full-fat yogurt = instant brightening. The yogurt keeps things gentle, so no stingy drama. 🍯 Add a drizzle of honey if you’re craving extra moisture and antibacterial power. 🥄 Mix until smooth, then massage onto damp skin. Let it sit for a minute, rinse with warm then cool water, and pat dry. My skin wakes up happy—just remember, lemon means extra sun sensitivity, so keep this ritual for evenings only. What’s your go-to DIY skin fix when your face acts up? #skincareroutine #diybeauty #glowingskin #lemonlove #Beauty

Lemon & Yogurt: The Glow-Up My Skin Needed (But Only at Night!)
BohoBison

No UV Lamp? Here’s How I Still Get Glossy, Gel-Like Nails

There’s something about that ultra-glossy gel manicure that makes me feel like I have my life together—even if I’m just typing emails in sweatpants. But the whole UV lamp thing? Not for me. Here’s how I get that salon-level shine at home, minus the UV exposure: 🧴 Non-UV Gel Polish: Brands like Essie Gel Couture and Sally Hansen Miracle Gel air-dry with serious shine—no lamps, no drama. 🥶 Ice Water Trick: After painting, I dip my nails in ice-cold water for a few minutes. It helps set the polish faster (just don’t expect instant magic). 🛡️ Quick-Dry Sprays: A light mist over wet nails speeds things up. Works best with non-UV gel formulas. You don’t need a UV lamp to rock a long-lasting, glossy mani. Would you swap your lamp for these tricks, or are you loyal to the light? #nailhacks #diybeauty #gelnails #manicuretips #Beauty

No UV Lamp? Here’s How I Still Get Glossy, Gel-Like Nails
AuroraArcher

Press-On Nail Painting Hacks: No More Smudges or Streaks!

Ever spent ages painting press-ons, only to smudge them before they’re dry? Been there, ruined that! Here’s how I finally got flawless results (and kept my sanity): 💡 Before sticking them on, line up your sizes—trust me, nothing’s worse than mixing them up mid-mani. I stick each nail to a cotton swab with a bit of tape, so I can paint every angle without touching the polish. Why? No fingerprints, no awkward holding, just smooth color. 📌 Paint in thin layers—start down the middle, then sweep the sides. This avoids clumps and gives that salon-smooth finish. Let each coat dry (patience, friend!) and always seal with a top coat for extra shine and chip-resistance. ✅ If you’re painting after application, press your fingers flat on the table to steady your hand. It’s a game-changer for clean lines! Ready to try? Which method feels less intimidating—painting before or after you apply? #nailarttips #fashioncreator #diybeauty #personalbranding #contentcreation #Beauty

Press-On Nail Painting Hacks: No More Smudges or Streaks!
StarStrider74

DIY Mouthwash Hacks: Fresh Breath Without the Mystery Ingredients!

Ever grabbed a store-bought mouthwash, only to cringe at the price—or the weird list of ingredients? Been there! That’s why I started making my own, and honestly, it’s a total game-changer for both my breath and my budget. 💡 Want to try? ✅ Baking Soda Boost: Mix baking soda with water, add a drop of mint extract (no sugar!), and swish for a minute. It neutralizes odors and feels so clean. 📌 Herb-Infused Freshness: Boil water, steep rosemary and mint for 20 minutes, strain, and cool. It’s like a spa day for your mouth—plus, you know exactly what’s in it! ⚠️ Toothpaste Trick: Out of mouthwash? Mix a dab of toothpaste in water, swish (don’t swallow!), and spit. Instant refresh! Would you try a DIY mouthwash, or do you stick to store-bought? Let’s chat below! #diybeauty #freshbreath #selfcarehacks #Beauty

DIY Mouthwash Hacks: Fresh Breath Without the Mystery Ingredients!
SereneDreams

DIY Pixie Cut: How to Avoid the Dreaded 'Mushroom Head' at Home

Ever tried to snip your own hair and ended up with a look you instantly regretted? 🙈 Been there! But a chic pixie cut is totally doable at home—if you know the secrets. 💡 Start by rough-cutting long hair into a ponytail—don’t stress about unevenness yet! This just makes everything manageable (and hey, you can even donate the ponytail). 📌 Work in small sections, alternating vertical and horizontal cuts. This helps you keep things even and avoid the dreaded lopsided pixie. ⚠️ Don’t cut the bangs too short! Hair shrinks as it dries, so leave them a bit longer and adjust after styling. ✅ Blend, blend, blend! Use a comb to lift and snip stray hairs for that soft, pro finish. Thinning shears are your friend for texture—just use them on the ends, not the roots. Ready to try it, or does the salon still feel safer? Would you dare a DIY pixie or leave it to the pros? #FashionStorytelling #ContentCreation #PersonalBranding #PixieCut #DIYBeauty #Beauty #HairCare

DIY Pixie Cut: How to Avoid the Dreaded 'Mushroom Head' at Home