Tag Page Handmade
#Handmade

knotsofserenity
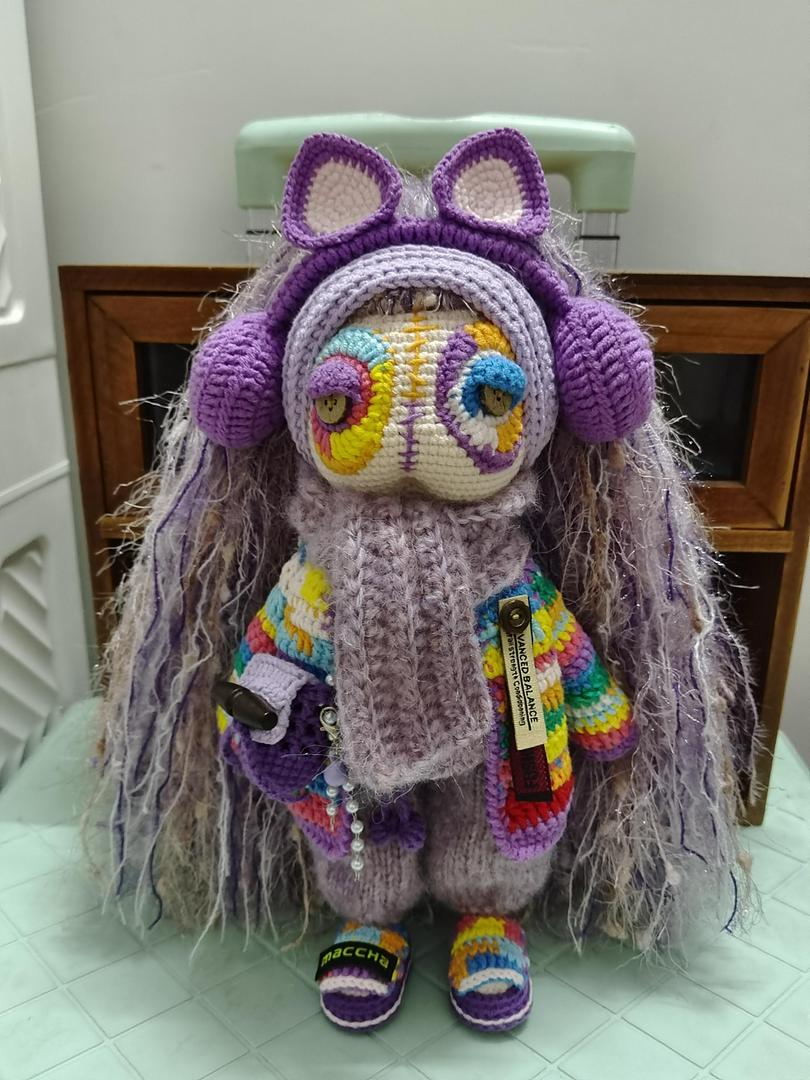
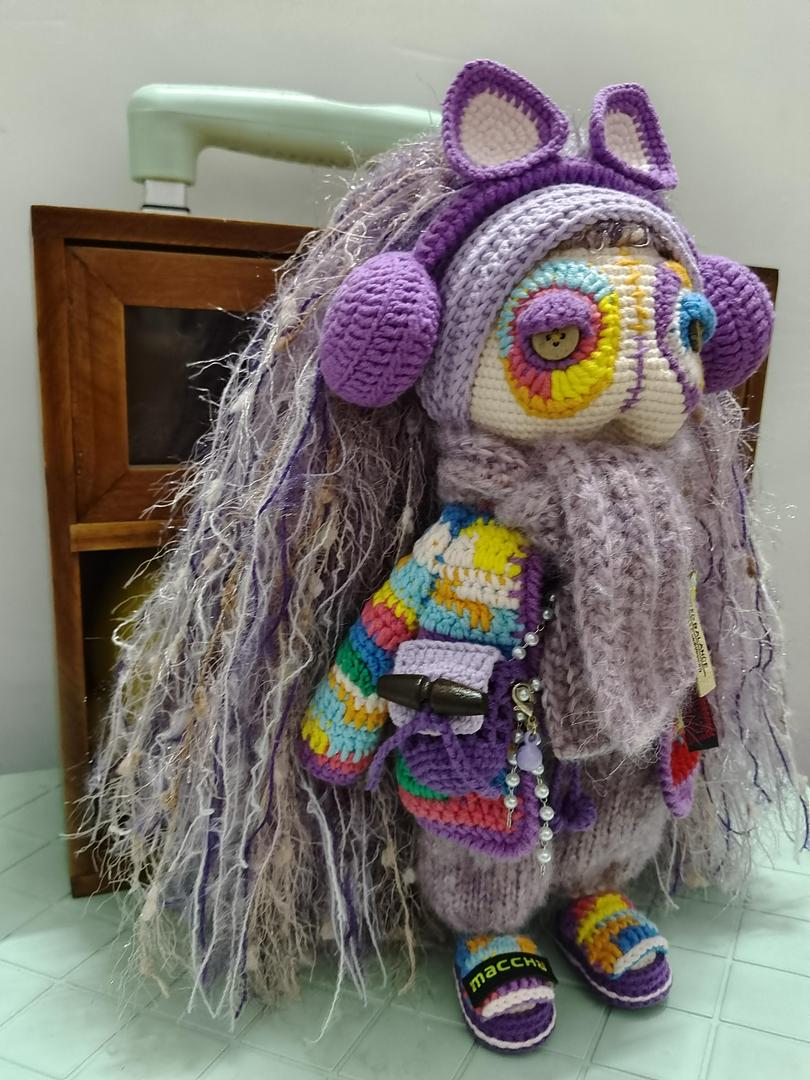
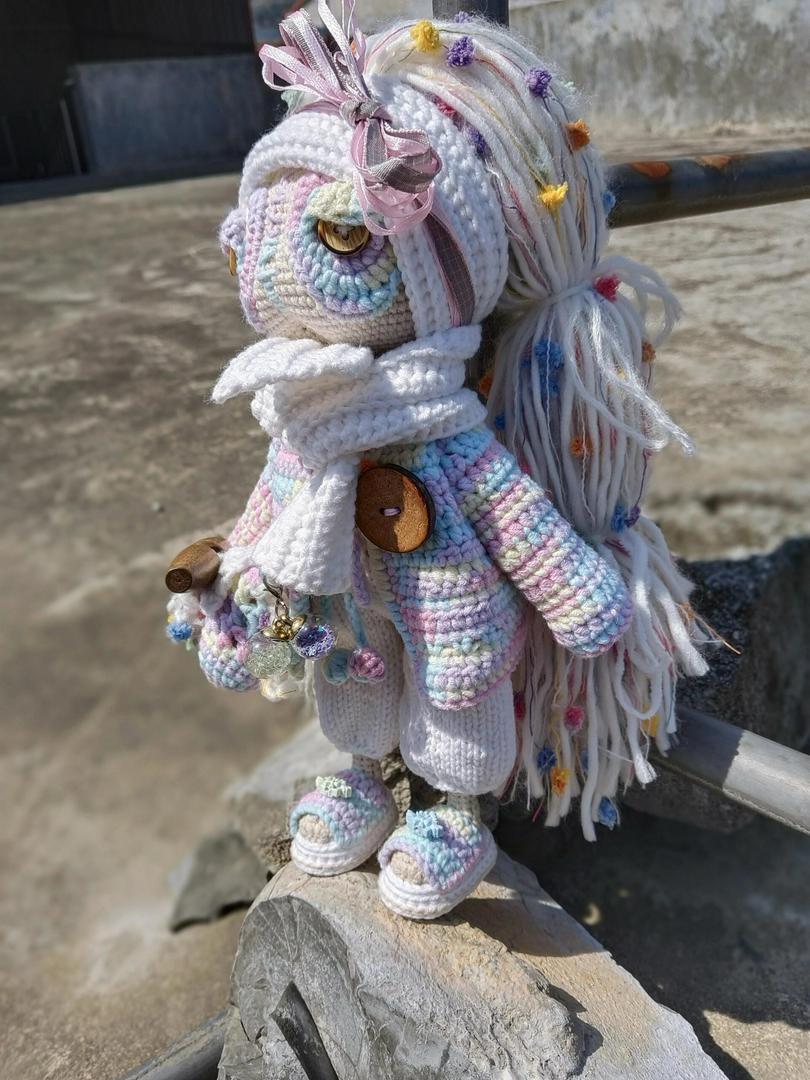
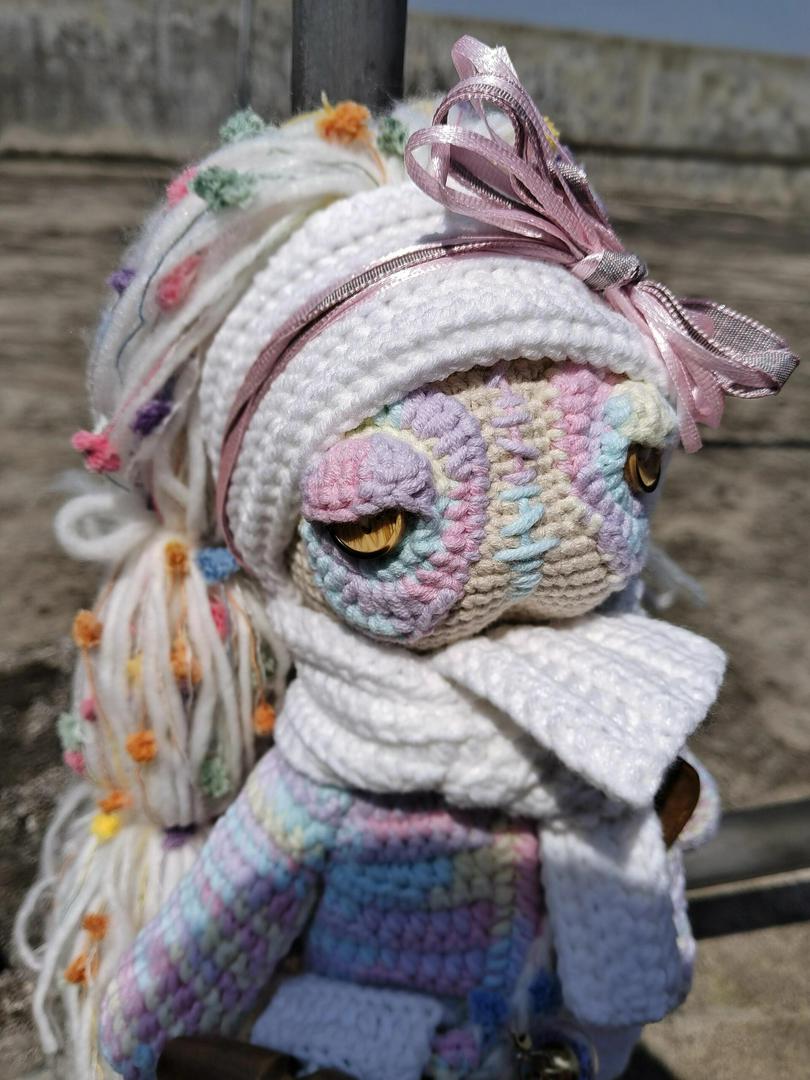
A little bit creepy, a whole lot of cute. 🧵✨ #crochet #amigurumi #artdoll #creepycute #weirdcore #handmade #yarnaddict

knotsofserenity
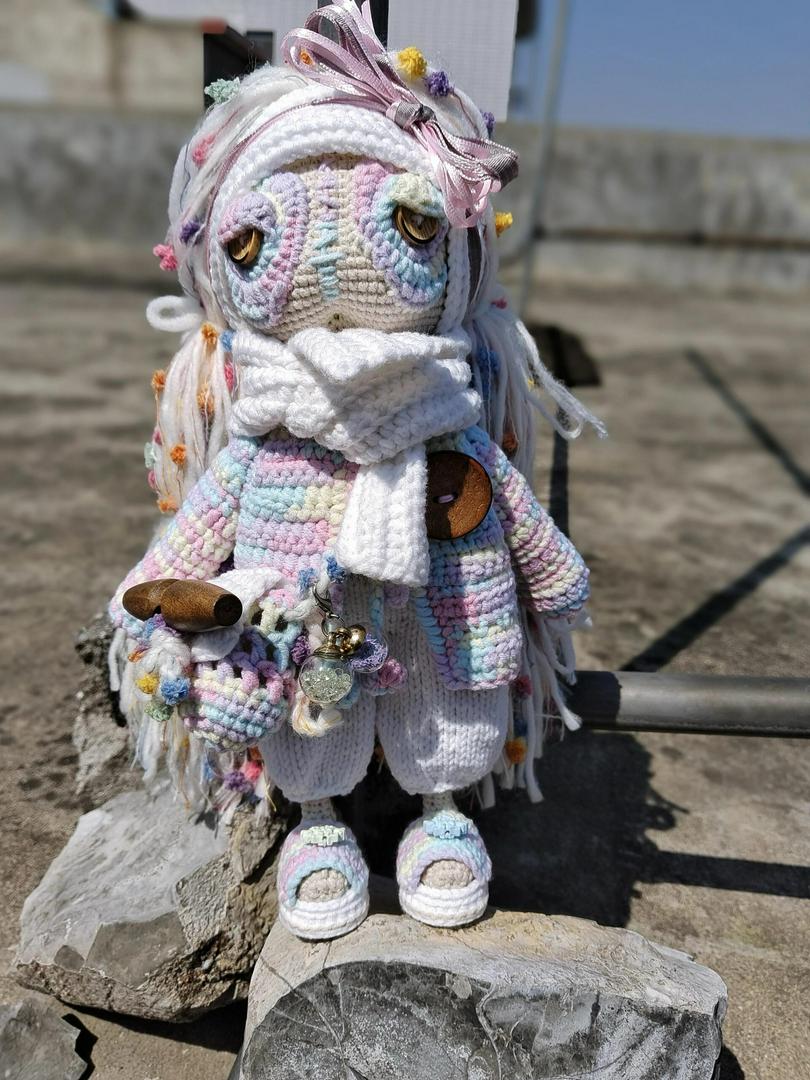
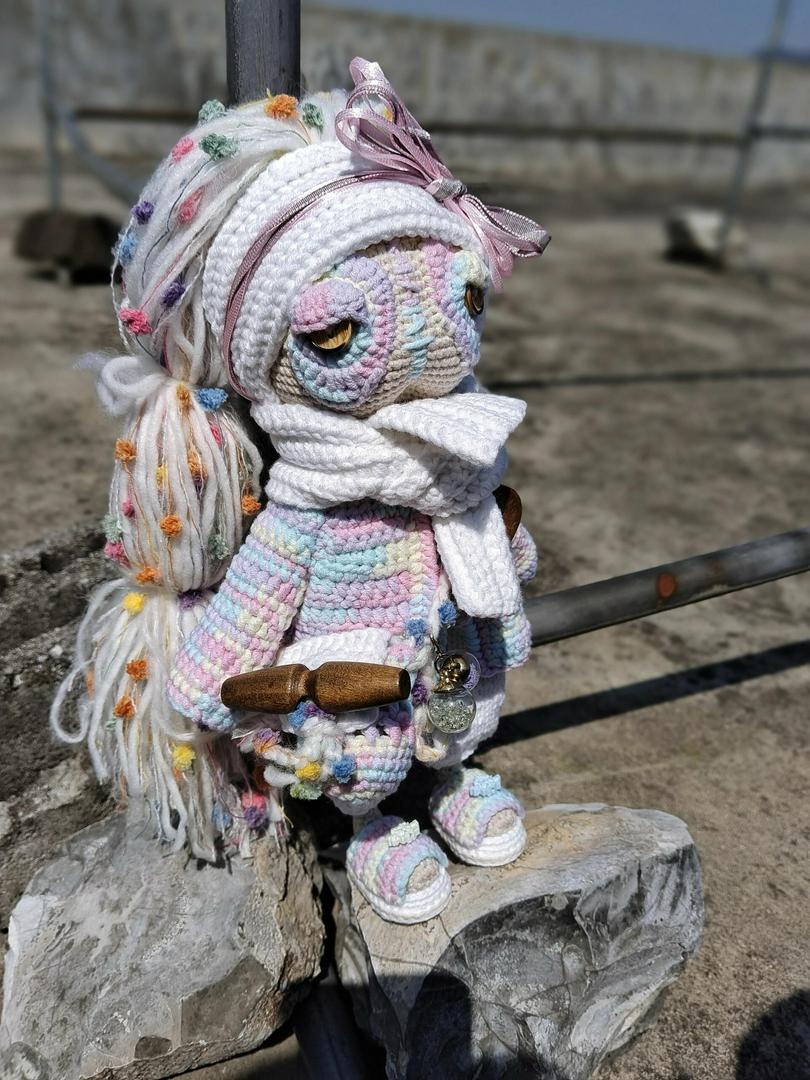
Spent hours making this little one for a special friend. Hope they love it! 🎁🎄 #HandmadeGift #crochet #amigurumi #handmade #creepycute

You've reached the end!