Tag Page Makeup

#Makeup
Elizabeth Phillips

How I Cut My Makeup Time in Half

After five years of fumbling with makeup, here’s my truth: Eye makeup eats the most time. And when I skip it (or simplify it), I can be out the door in 10 minutes. Here’s my lazy-but-effective strategy: Only base where you need it. Skip the full-face mask. I spot-cover dull areas with foundation, or use a sheer cushion compact just on the inner face. No ghost-face. Prioritize high-impact zones. Brows, blush, lips. These three wake up your whole face fast. Eyes? Focus on lashes + liner. If nothing else, just curl, coat, and line. Add shimmer on lower lash line if you’ve got time. Powder > cream. Blush powders are way faster to blend than sticky sticks or balms. Still using cream? Use a puff—not fingers. Absorbs excess and evens it out. Makeup doesn’t have to be maximal to work. It just has to be smart. #beauty #makeup #quickmakeuproutine

How I Cut My Makeup Time in Half
beverlymills

I Used to Hate My Wide Jaw—Now It’s a Flex

Five years ago, I’d do anything to hide my square face and flat profile. Now? I lean into it. Turns out, what I thought made me look “harsh” actually gives structure—and ages way better than baby-soft features. The trick? Creating depth. Not faking a smaller face. Here’s what works for me: Curved brows only. Flat brows drag me down. Contour placement matters—I use a slightly deeper shade along the outer frame and keep the center bright. This builds dimension without obvious lines. Lower lash shimmer (like faux aegyo-sal) adds volume to the center of the face. Muted lip + lifted eye makeup = attention stays up top. Volume at the crown helps elongate my head shape. And yes, be bold with highlight + shading. Don’t be afraid of contrast. Flat faces deserve structure—not erasure. Once I embraced that, everything changed. #beauty #makeup #facialcontouring

I Used to Hate My Wide Jaw—Now It’s a Flex
beverlymills

I Switched from Chanel to RMK

This isn’t “budgeting.” It’s just that RMK has been outperforming half my luxury drawer lately. I still love SUQQU and CPB, but when RMK’s on sale or duty-free? It’s a no-brainer. The eyeshadow quads and duos hit that soft pigment sweet spot—buildable, blendable, with none of Lunasol’s powdery mess. I own three now. Still reaching for them daily. The gel cream blush in 10? Subtle salmon-pink with a quiet glow. Looks flat in swatches but turns radiant on skin. It’s that “wait, what did you use?” kind of finish. Their new cream foundation is shockingly good. Shade 100L is tricky, but the texture? Smooth, flexible, buildable. Better wear than SUQQU, especially for my combo-dry skin. And the lipstick in shade 01? I’ve worn it for six months straight. Still not bored. RMK isn’t loud. But it’s quietly winning. #beauty #makeup #RMK

I Switched from Chanel to RMK
Rachel Martin

Blush Tricks That Don’t Work on My Face

I’ve tried every “diamond face” blush hack on the internet: shrink the cheekbones, highlight the center, shift the high points inward. The result? A hot mess. Turns out, not all diamond faces are built the same—and that changes everything. Here’s the breakdown: 
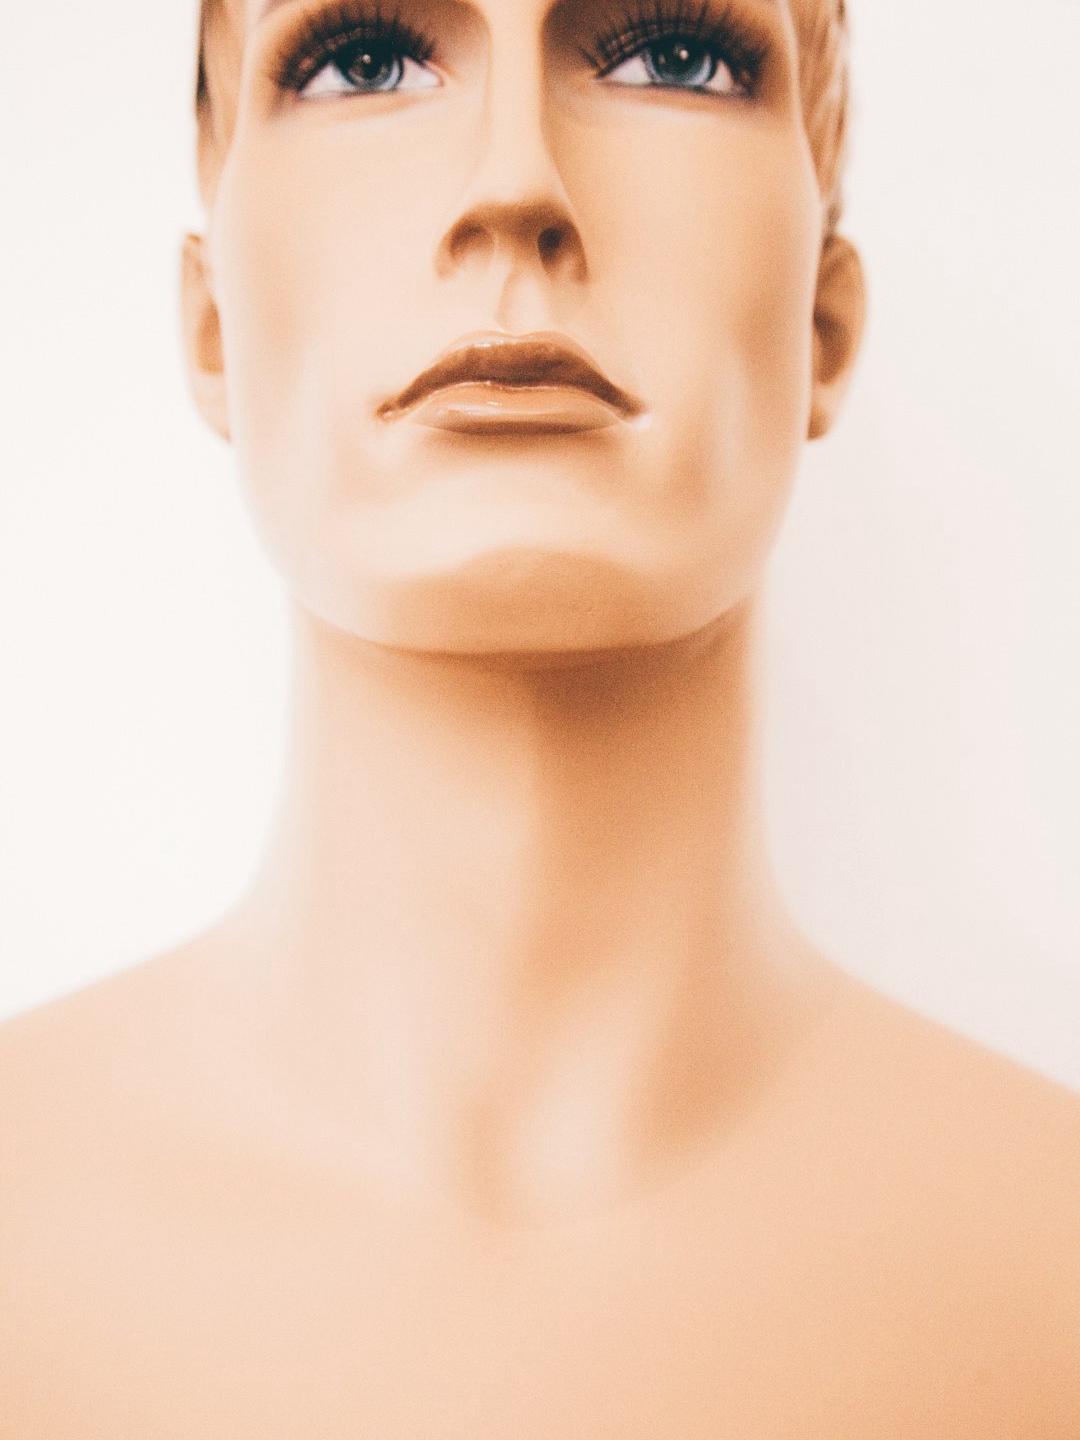
Type I – prominent cheekbones, full temples/cheeks, smooth jawline (most tutorials use this type). Type II – hollow temples & cheeks, but cheekbones aren’t that sharp. Type III – the unlucky combo: hollowness and sharp cheekbones. That’s me. If you’re Type II or III, adding blush near the cheekbone actually makes things worse—cramped mid-face, heavy upper-face, no room to breathe. So I flipped the script: 
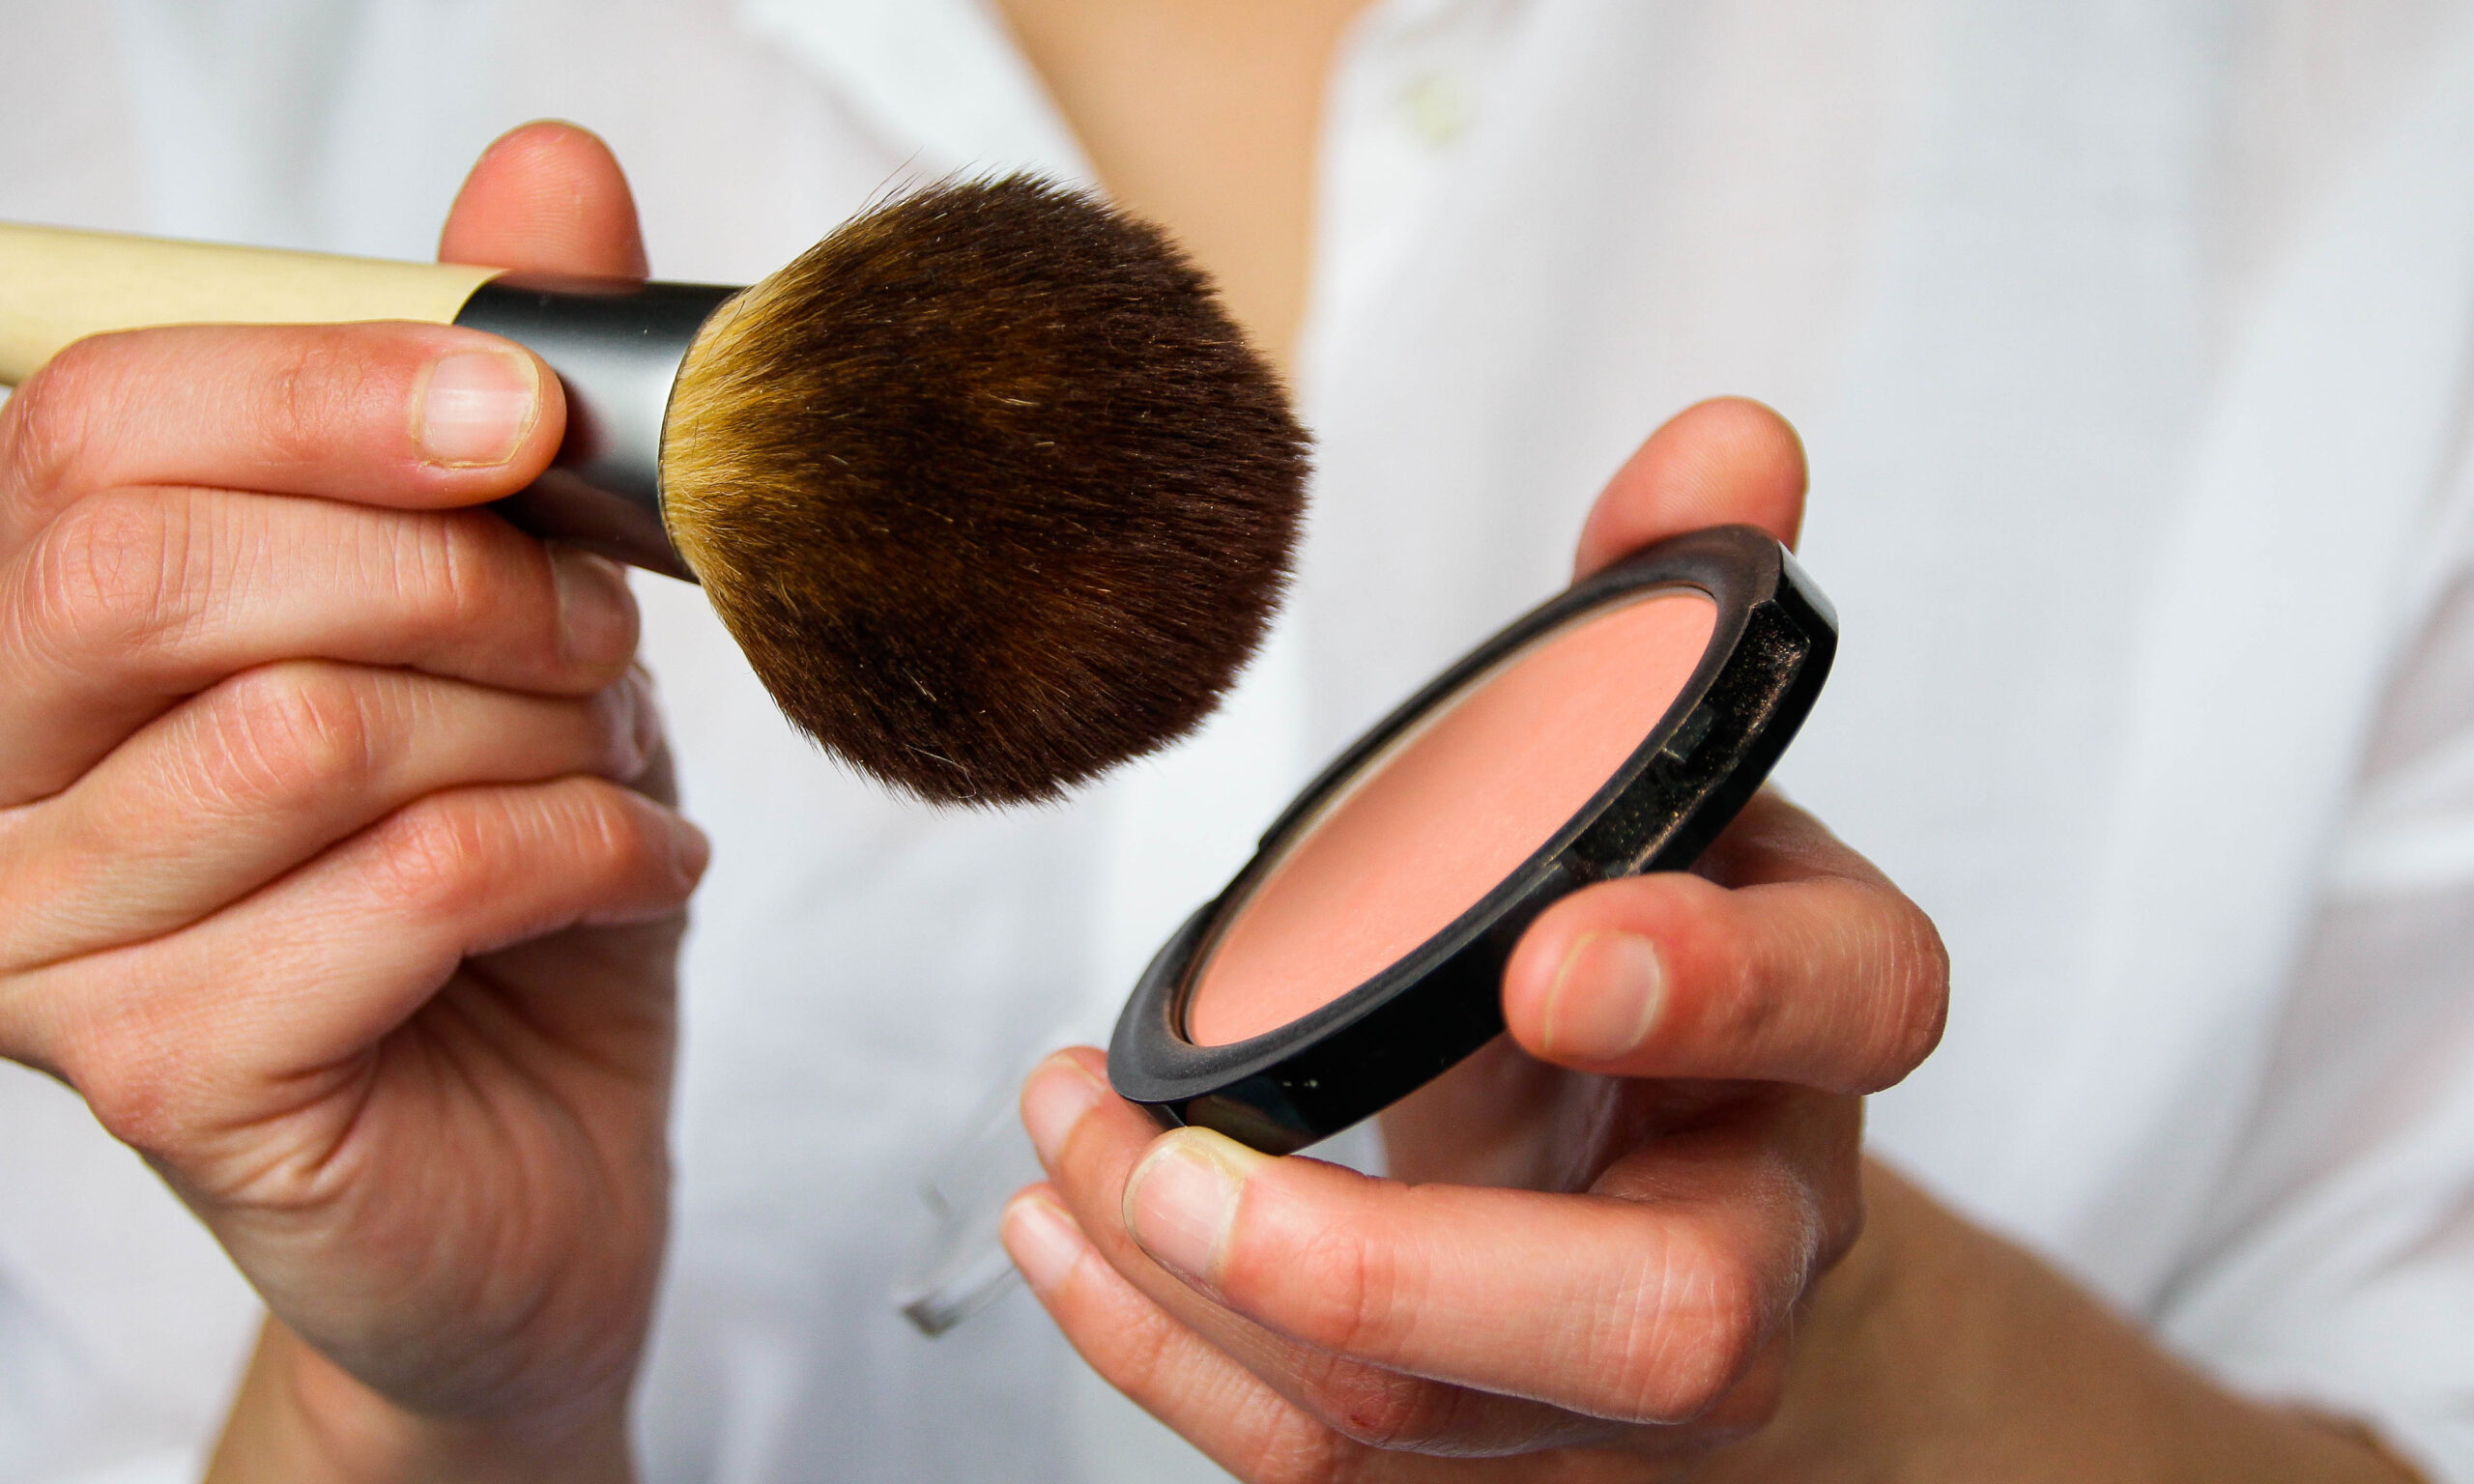
→ Leave the cheekbone alone. → Add blush lower, diagonally from under the cheekbone toward the nose. → Keep the edges soft, use low-saturation shades. Bonus tips: Use unified tones across eyes/lips. Blur the edges. For long mid-faces, balance with under-eye blush or extended lower lash makeup. Works beautifully in motion—perfect for social events. #beauty #makeup #blush

Blush Tricks That Don’t Work on My Face
ericwagner

Why Your Makeup Looks ‘Messy’—And How to Fix It

Ever finish your makeup and feel like it just looks… off? Not polished, not messy—just kind of dirty? Here’s what’s likely going wrong (and how to clean it up): ① Your base isn’t sealed. Layer intentionally. I go: hydrating SPF → setting spray → foundation + primer blend → setting spray → concealer → setting spray → brightening liquid → setting spray → setting powder → matte highlighter on brightened areas. Sounds like a lot, but the result? A locked, even canvas. ② Too much pigment, too soon. New to makeup? Stick to lower-saturation shades. Softer tones are easier to control and blend. ③ Harsh edges. Blending isn’t optional. After applying blush or shadow, grab a clean brush with matte translucent powder. Sweep gently over the edges. This softens harsh lines and pulls the look together. Trust me: “clean” makeup is all about texture, tone—and what you don’t see. #beauty #makeup #cleanmakeuplook

Why Your Makeup Looks ‘Messy’—And How to Fix It
ericwagner

Stop Over-Highlighting Your Midface

If you have a long midface (a.k.a. extended philtrum area), skip the highlighter overload. It’s not helping. A common mistake: thinking that brightening under the eyes or upper cheeks will “lift” your face. For long midfaces, this often backfires—making the center appear longer and flatter, especially under harsh light. Instead: ✔️ Use contour (or a deeper foundation shade) to shadow from the lower eye to the nose tip. ✔️ Highlight strategically—just along tear troughs or nasolabial folds. ✔️ Avoid large zones of glowy blush. Instead, split application: – A soft pop of warm blush directly under aegyo-sal to lift the eye – A muted, slightly cooler blush to balance below Keep everything controlled. Extend blush over the bridge of the nose—not too wide. It’s about redirecting the eye, not masking your face. The goal? Not fullness. It’s proportion. That’s what creates elegance. #beauty #makeup #facialstructurefix

Stop Over-Highlighting Your Midface
lowejessica

Why Your Eyeshadow Looks... Invisible

It took me five years to realize: if your eyeshadow looks like it’s doing nothing—it probably is. Here’s the problem: most of us apply color without understanding our orbital bone. That’s your true canvas. If you go too high, the shadow floats. Too low, and it disappears. Close your eyes. Feel that curved ridge from the outer corner to the inner socket? That’s where your base color should stop. 👉 Step 1: Use a medium-toned shadow (not too sheer, not too bold) to fill the orbital zone. Think of it as your “scaffold.” 👉 Step 2: Work with gradient depth—light on top, medium in the middle, darkest near the lash line. 👉 Step 3: Add structure. Definition lives in the details: Soft lashline liner A lower lash shadow flick Highlighted aegyo-sal (puffy eye bag) Lifted corner accents Even with soft colors, structure = power. #beauty #makeup #eyeshadowtips

Why Your Eyeshadow Looks... Invisible
slittle

One Product. One Look. Zero Noise.

If your makeup doesn’t hit—strip it back. One product. One texture. One intention. Most looks fail not from lack of skill, but from too much going on. A smoky eye with glossy lips, or a soft flush with metallic highlight? Conflict kills clarity. Want depth? Go for a dark brow pen, liner, and mascara. Want light? Try gloss, shimmer, and clear blush—no contour, no shadow. Want soft? Matte blush + blurred lips. Skip sparkle. Want impact? Use red lips or heavy lashes—but only one. Your features set the tone. Don’t fight them—frame them. Some people carry “glow,” others wear “edge.” Know your base. Pick one lens. Then eliminate everything that doesn’t fit. Don’t buy everything—test with fingers, blend with tissue, fake shine with lip balm. Master volume with one note before adding harmony. Minimal isn’t lazy. It’s surgical. #beauty #makeup #minimalmakeup

One Product. One Look. Zero Noise.
slittle

Your Features Aren’t Wrong—Just Misplaced

Here’s the thing no one tells you: makeup hits different when you stop thinking in colors and start thinking in placement. A lot of us have what I call “fish-eye face”—features pulled too far apart, with lots of blank space in between. Others have super condensed features that feel too tight. Neither is wrong. But adjusting where your visual weight goes can change everything. For wide-set features: Keep brows short and close together Tightline instead of winging Use darker tones on the inner eye corners, brow bridge, and center blush placement Add concealer to mouth corners to narrow the lips For close-set features: Extend brow tails, focus color toward outer third Elongate liner and shadow past the eye Highlight the inner corners and spread blush out wide You’re not broken—your features just need a better frame. #beauty #makeup #facialproportions

Your Features Aren’t Wrong—Just Misplaced
kyleleon

7 Tips to Add Dimension to a Flat Face

I’ve done makeup on over 1,000 girls, and here’s how I add real dimension to flat faces. Face breakdown: Features are moderate but soft—perfect for a sweet, natural look. Low contrast means features can appear blurred from afar. Plenty of open space, with high apples close to the nose, causing a slight droop effect. Makeup game plan: Choose a lightweight, radiant base to highlight naturally good skin. Use “double C lines” for subtle nose shadowing, paired with a highlight on the nose bridge to lift and sculpt. Apply blush slightly outward from the cheekbones; brighten the center of the face to create fullness and balance. The original brows were sparse and faded—adding soft, natural strokes with a gentle arch brings youthfulness and frames the eyes beautifully. Little tricks, big impact. #beauty #makeup #contouring

7 Tips to Add Dimension to a Flat Face
Tag: Makeup - Page 12 | zests.ai