Handicrafts for Homeschoolers: Quilling
QUILLING LESSON PLAN
📚Week 1:
- Introduce quilling paper and the quilling tool.
- Demonstrate how the quilling tool can coil paper.
- Browse through library books with quilling projects for inspiration.
📚Week 2:
- Let your child practice quilling without focusing on a finished product.
- Practice making tight coils, loose coils, and shaping them into different shapes.
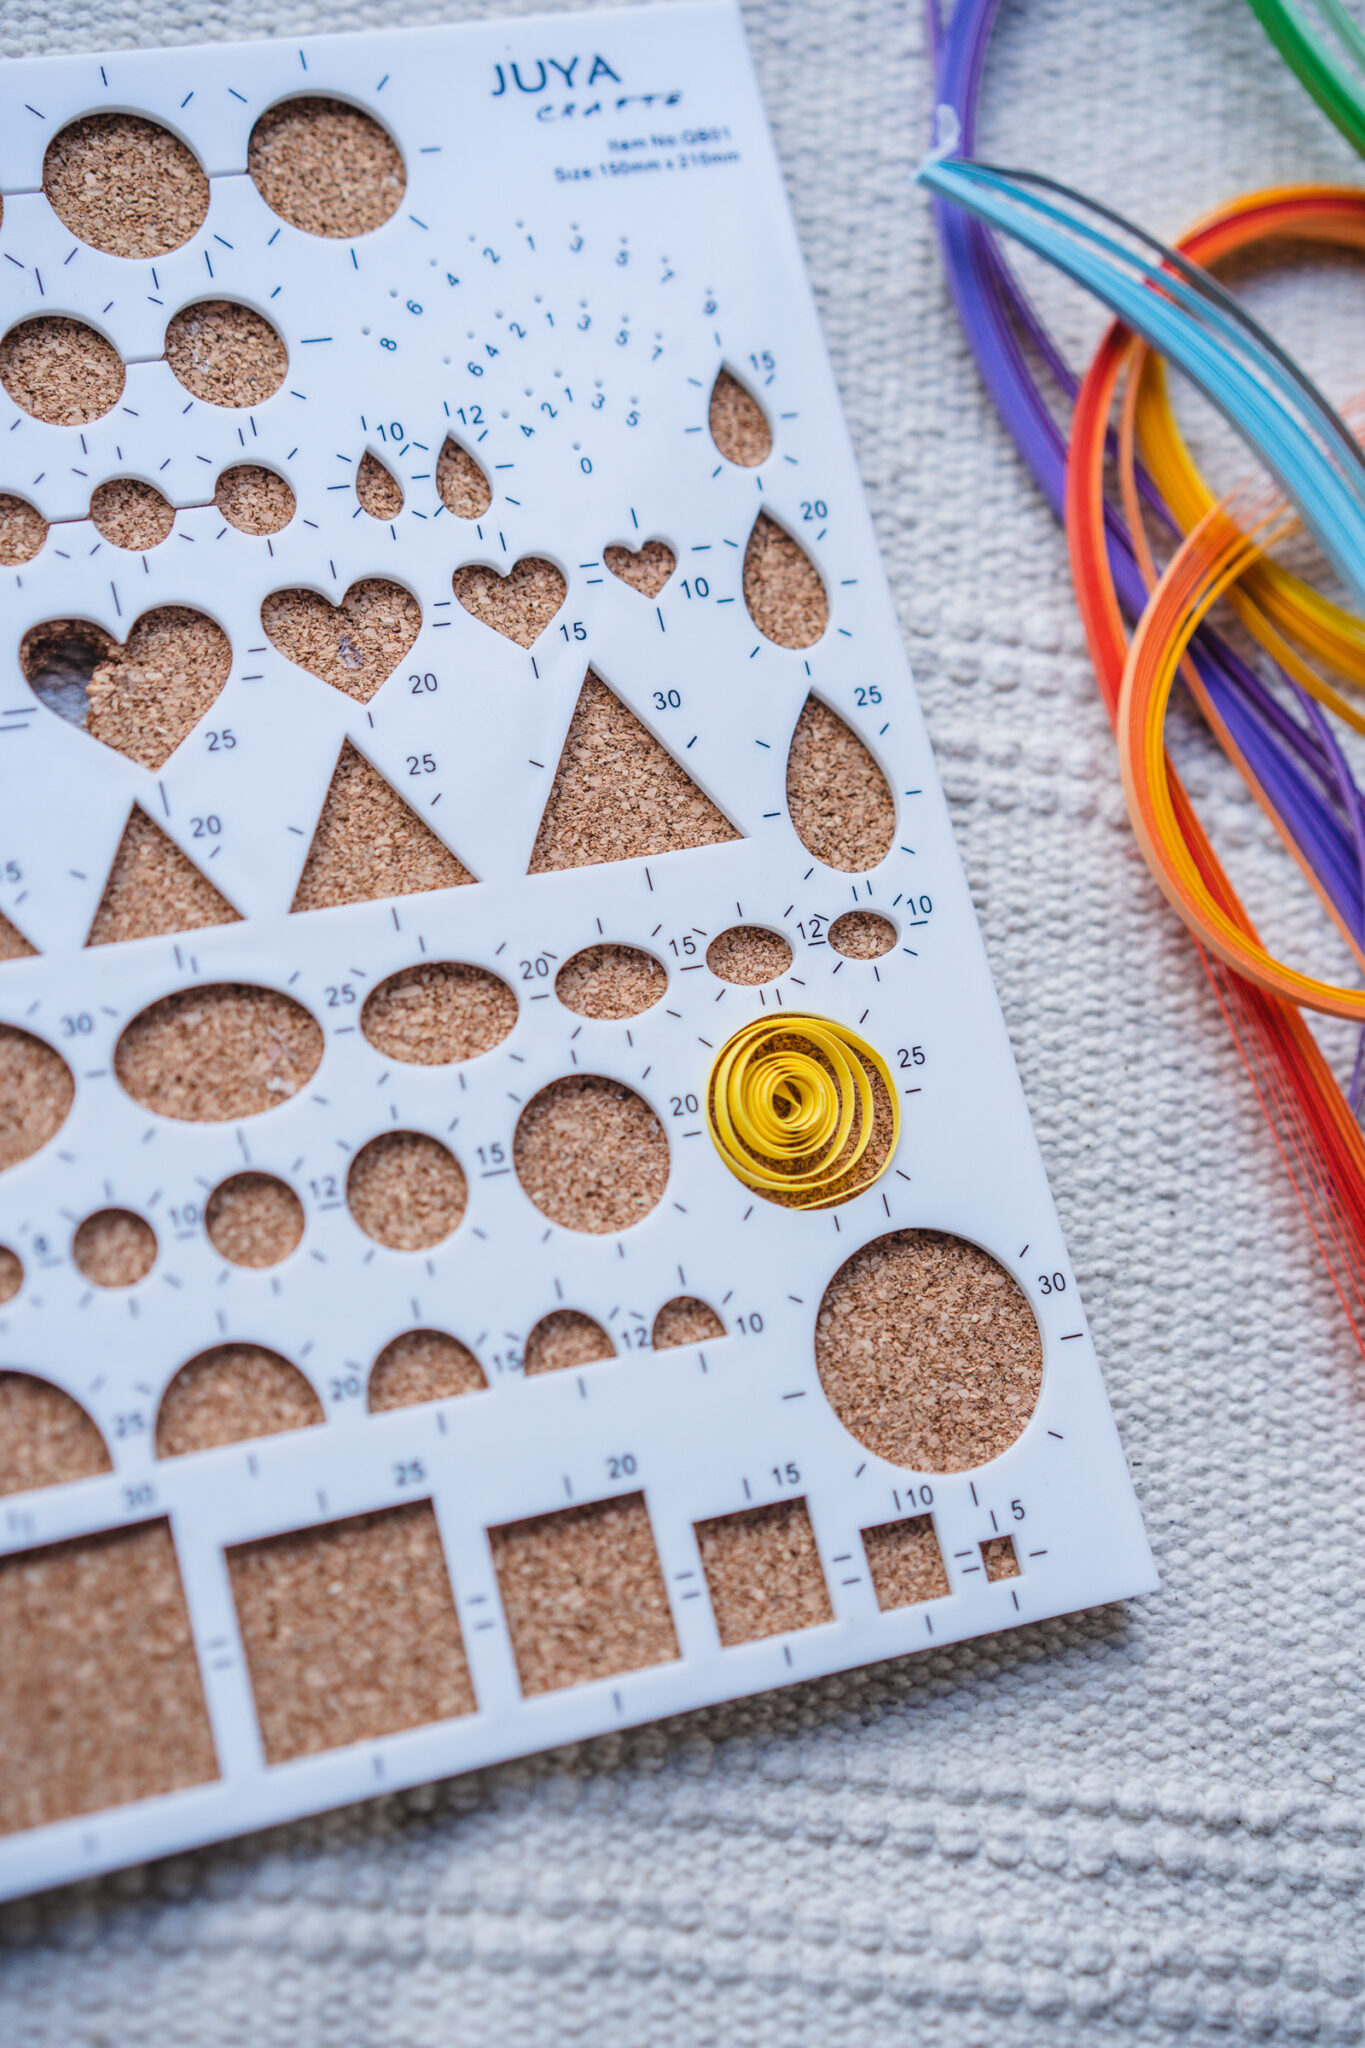
- Experiment with a quilling board to adjust coil sizes.
📚Week 3:
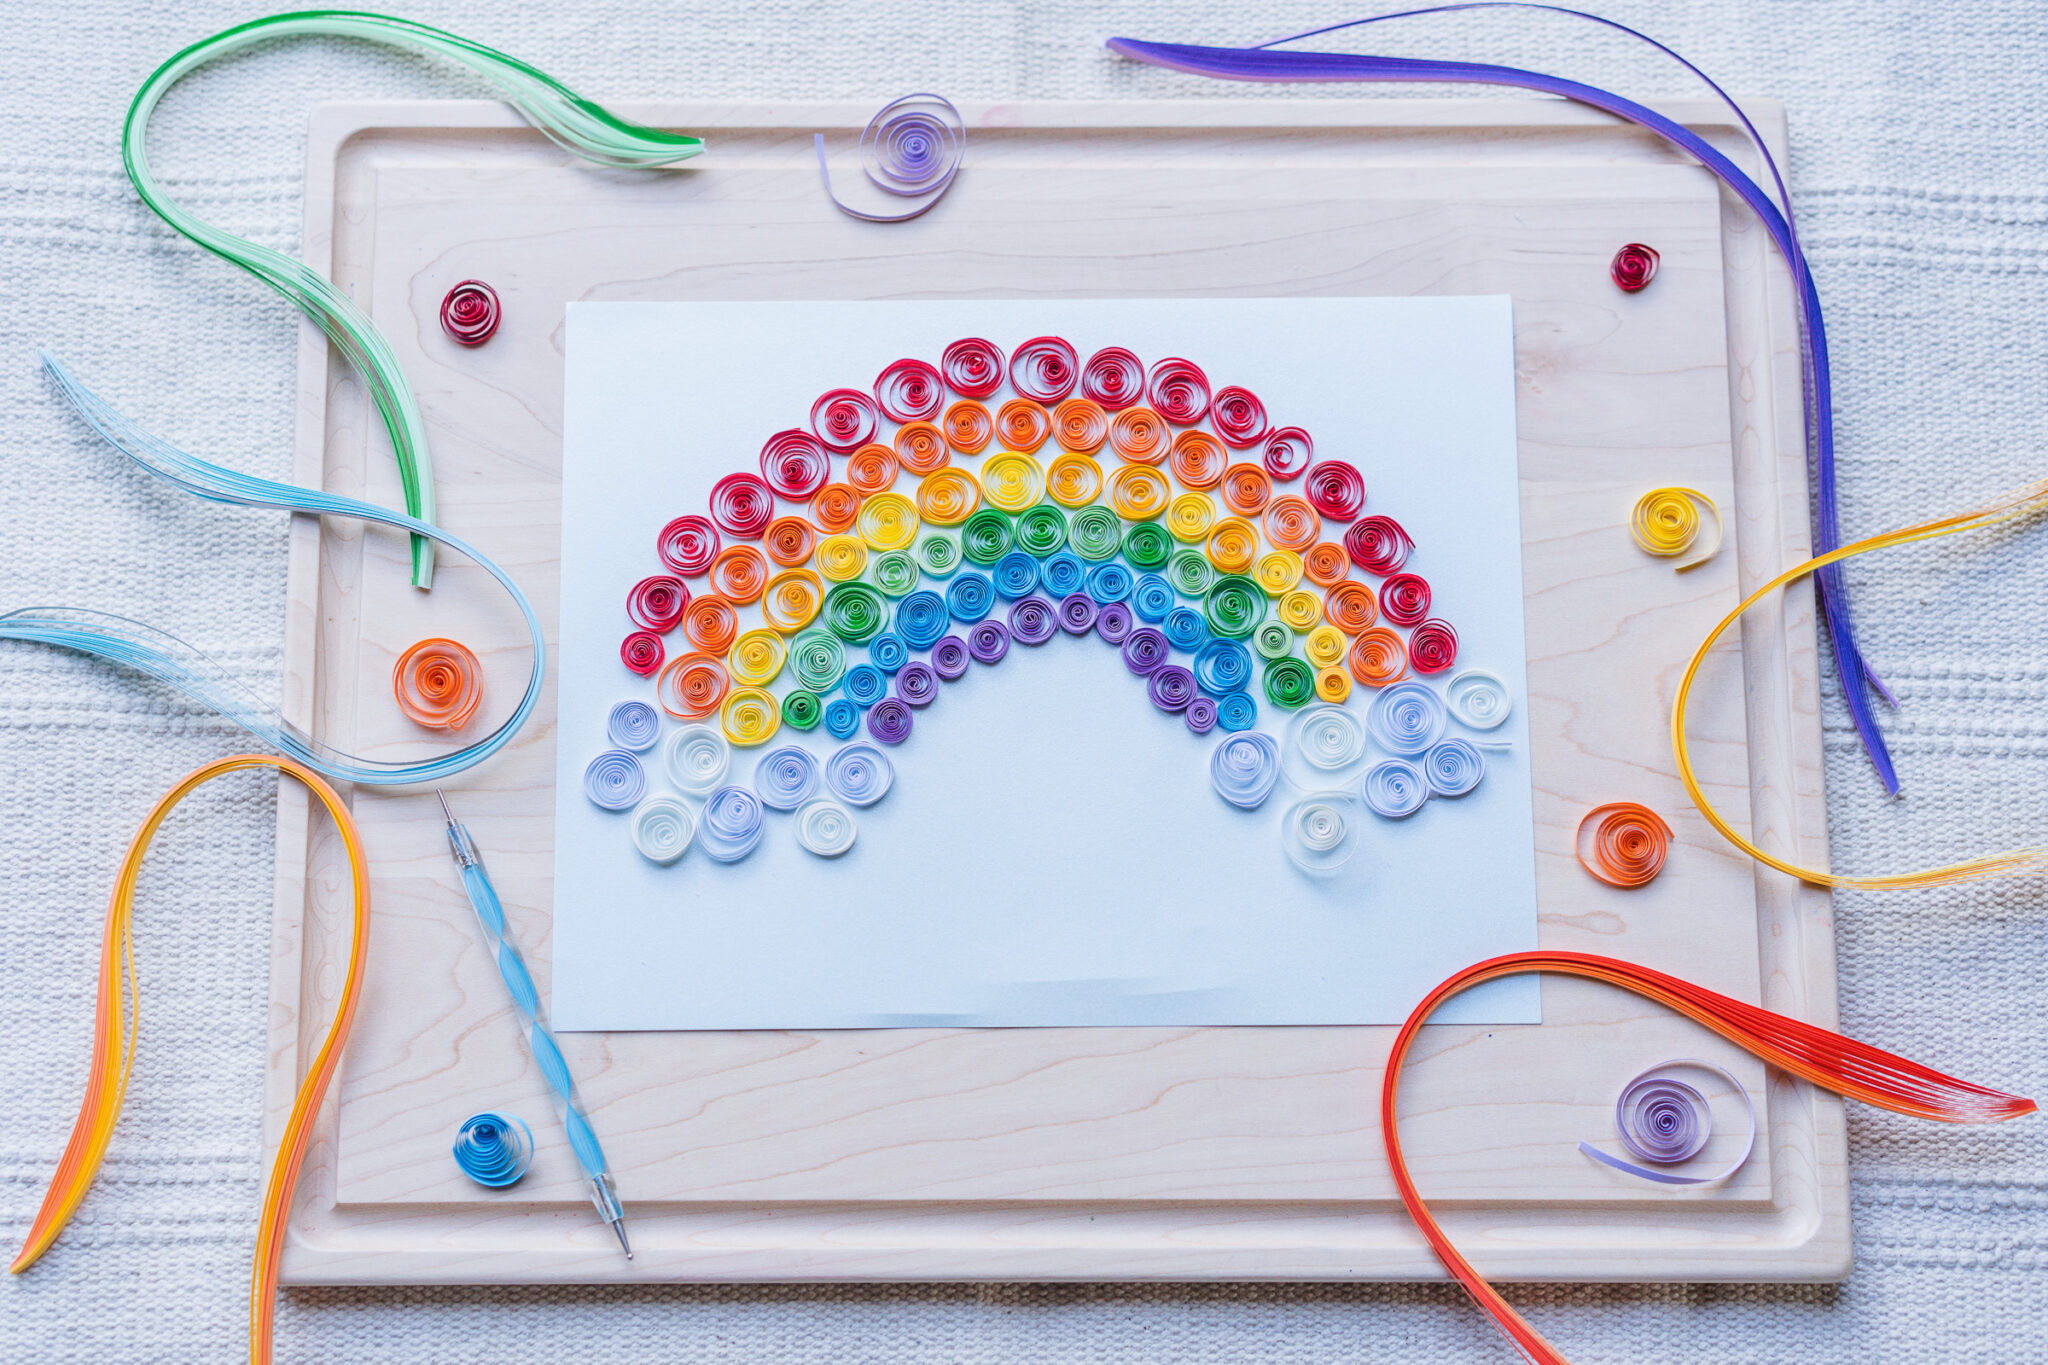
- Work on a small project using basic quilling skills, like making a quilling rainbow.
- Use quilling paper strips in seven colors: red, orange, yellow, green, blue, purple, and white.
- Cut thin strips of colored paper or use precut quilling paper.
- Create spirals using the quilling tool, glue them down, and shape them using a quilling board.
- Sketch a rainbow shape on cardstock, glue down the spirals in layers, and finish with white spirals for clouds.
- Allow the glue to dry and display the finished project.
📚Weeks 5-6:
- Plan and design a larger quilling project based on the child's interests.
- Let them explore different ideas and practice techniques.
- Help them validate whether some ideas are feasible.
📚Weeks 7-12:
- Execute the design plan and work on completing the project.
- The project can be one large piece or a collection of smaller ones.
#quilling #artproject #craftingforkids #quillingtechniques #rainbowart #creativelearning #homemade #kidsactivities #artforkids #diy