1/1
Nail art is just painting nails? Nah—Prep Is EVERYTHING.
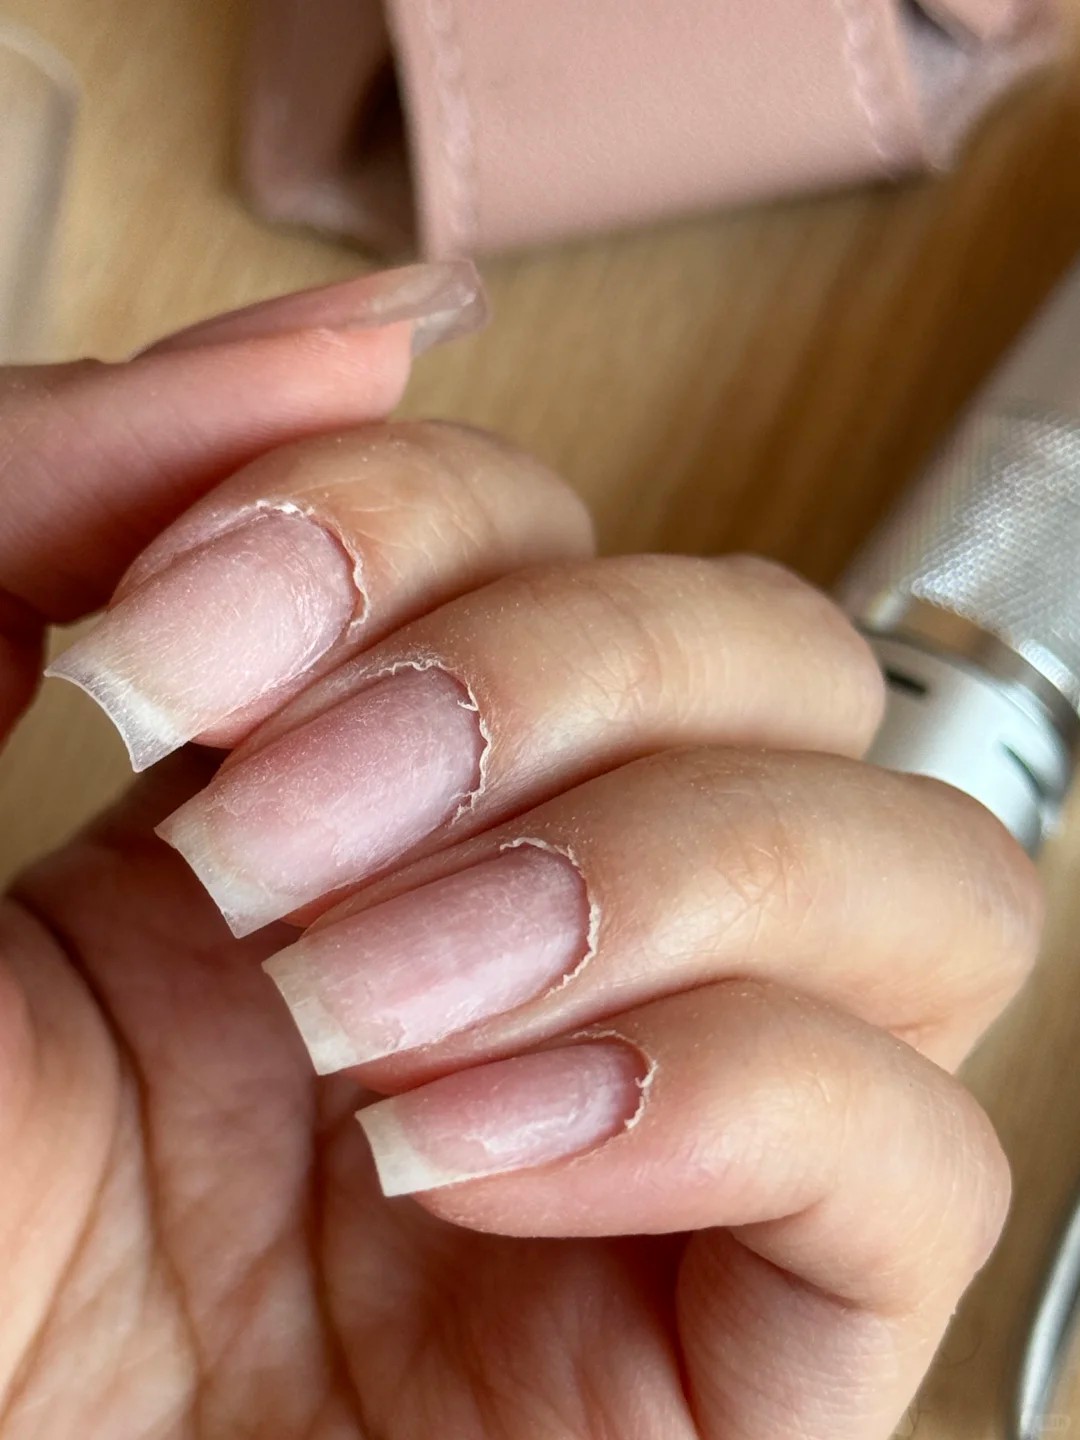
Real talk: the difference between a mani that lasts 10 days and one that flakes off in 24 hours happens *before* you ever open a bottle of polish. Skip the prep and you’re basically building a mansion on quicksand. Here’s how I level-up every set, step-by-step, with the exact tools the pros swear by . 1. Clean Slate, Literally • Remove every trace of old product with non-acetone remover. • Scrub under the free edge with a nail brush — leftover gunk is the #1 cause of lifting. 2. Shape & Shorten • Clip, then file from corner to center with a 100/180-grit file to avoid splits. • Square, coffin, almond — doesn’t matter, just make the shape symmetrical so your art looks intentional. 3. Soften & Push • Apply cuticle softener and wait 60 seconds. • Use a stainless-steel pusher to gently roll back the cuticle and reveal the “nail pocket.” That tiny shelf is where product hugs the nail and keeps water out. 4. Nip With Precision • Only snip the *actual* dead skin with sharp nippers; live skin will scream and bleed. • Dust off debris with a fluffy brush — any grit left behind will show through gel like cellulite in leggings. 5. Dehydrate & De-Oil • Wipe each nail with alcohol on a lint-free pad. This removes surface oils and gives polish/ gel/ acrylic something to bite into. 6. Edge Perfection • Run the buffer over the free edge at a 45° angle to seal micro-layers. • Optional: trace a thin layer of base coat under the tip — instant chip insurance. Tool Checklist (keep these in a “prep only” pouch so you never dig through art brushes): cuticle softener, pusher, nippers, 100/180 file, buffer block, nail brush, lint-free wipes, 70 % alcohol . #NailCare #ManicureAtHome #Manicure
2025-07-22
write a comment...
