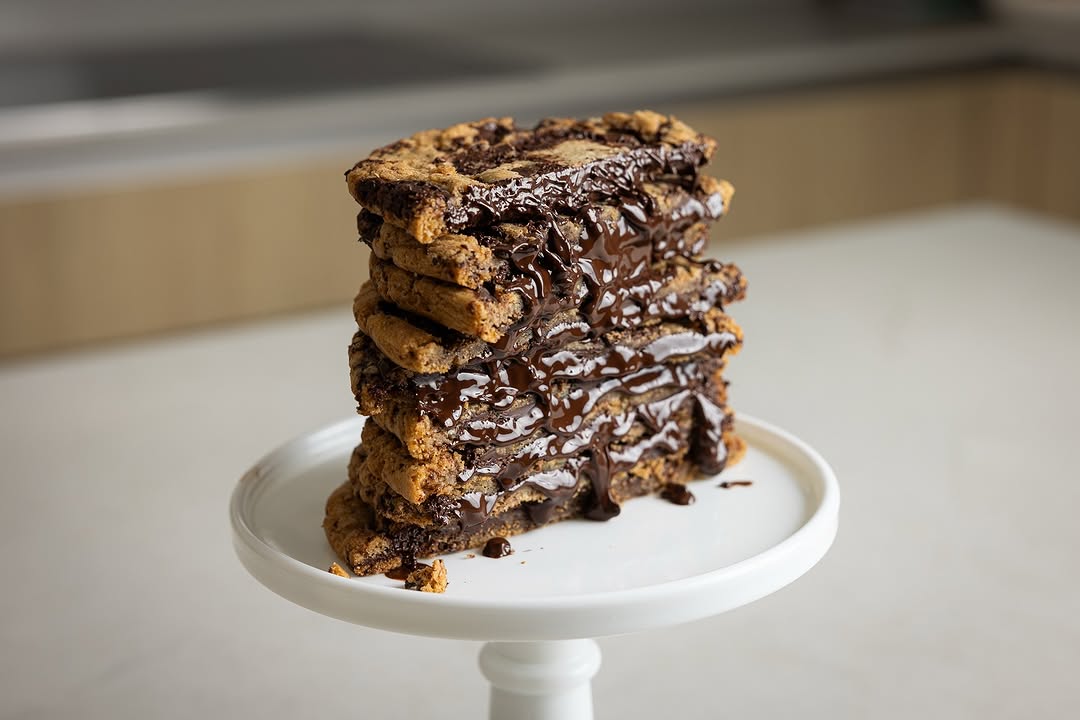
Tag Page BakingTips

#BakingTips
Peter Christensen

Vanilla Bean Basics: Ultimate Flavor Upgrade

Pick up a high-quality vanilla bean—Mexican, Tahitian, or Madagascar Bourbon are all fantastic. They should look shiny and a little oily. To use the seeds, lay the pod flat and split it lengthwise with a sharp knife. Don’t cut all the way through—just enough to open it up. Scrape out the tiny seeds using the back of your knife or a small spoon. Add them straight into your cake or cookie batter when you cream the butter for the best flavor. Want to stretch your vanilla? Rub the seeds into sugar for vanilla-infused sugar, or toss the pod into a jar of sugar or milk for even more flavor. Store leftover beans wrapped in foil in a cool, dark place. Skip the fridge—they’ll dry out too fast. Use within a couple weeks for the freshest taste. #VanillaBean #BakingTips #FlavorUpgrade #Food #Cooking

Vanilla Bean Basics: Ultimate Flavor Upgrade
Angela Cooper

Measuring 2/3 Cup Without the Actual Cup? No Problem!

If you’re missing a 2/3 cup, just grab your 1/3 cup and fill it twice. Super easy and no math required. Only have a 1/2 cup? Fill it once, then add 2 tablespoons plus 2 teaspoons. It’s surprisingly accurate and works for both dry and wet ingredients. If you’re down to just measuring spoons, scoop out 10 tablespoons and 2 teaspoons. It takes a minute, but it gets the job done. For the most precise measurement, use a digital kitchen scale. Tare your bowl, then add ingredients until you hit 160 grams (or mL for liquids). Always spoon dry ingredients into your cup and level it off for accuracy. For liquids, check at eye level to hit that 2/3 mark. Baking doesn’t have to stop just because you’re missing a cup! #BakingTips #KitchenHacks #MeasurementConversions #Food #Cooking

Measuring 2/3 Cup Without the Actual Cup? No Problem!
BlueJayBeats

Fresh Coconut Flakes at Home: Simple Steps

Pick a coconut that feels heavy and has no cracks. Shake it to make sure you hear liquid inside. Puncture the softest eye with a sharp tool and drain the coconut water. It’s actually super refreshing to drink! Crack the coconut open using the back of a heavy knife or by tossing it (inside a bag) onto a hard surface. Pry the white flesh from the shell. Use a spoon or flathead screwdriver—big pieces are easier to handle. Grate the coconut with a box grater or pulse in a food processor until you get the texture you want. For dried coconut, spread the flakes on a baking sheet and bake at low heat for a couple of hours. Store in a zip bag for months. Homemade grated coconut tastes way better than store-bought! #CoconutDIY #BakingTips #FreshIngredients #Food #Cooking

Fresh Coconut Flakes at Home: Simple Steps
DynamicRipple

Worrying about sugar? Just swap it in your recipe!

Use 1/2 to 2/3 cup honey for every 1 cup of sugar in baking. Honey is sweeter, so you need less. Reduce other liquids by 1/4 cup per cup of honey to balance the extra moisture. Add 1/4 tsp baking soda per cup of honey to help your baked goods rise and balance acidity. Lower your oven temp by 25°F since honey browns faster than sugar. For drinks, swap sugar for honey in tea, coffee, or lemonade—start with a small amount and adjust to taste. Try honey syrup (equal parts honey and water) for cocktails or salad dressings. Infuse with herbs for a twist. Honey gives a richer flavor and a softer, moister texture. Plus, it’s a little more natural than processed sugar. Worth the switch! #HoneySwap #BakingTips #NaturalSweetener #Food #Cooking

Worrying about sugar? Just swap it in your recipe!
DoughDana--

Meringue Weeping Ruined My Desserts Until I Found These Fixes

Those annoying water droplets forming on your meringue? That's called weeping, and it's totally fixable. Pick a dry day to make meringue. Humidity is your biggest enemy here. Use room temperature egg whites. Let them sit out for about 30 minutes before whipping. Dissolve that sugar completely. Rub some meringue between your fingers - if you feel grains, keep mixing. Whip to stiff peaks on high speed. This creates the structure you need. Add a tablespoon of cornstarch while whipping. This absorbs extra moisture and stabilizes everything. Don't overbake it. Shrinking egg whites release more moisture. Serve immediately after making. The longer it sits, the more likely it'll weep. Seriously changed my baking results once I started following these steps religiously. #meringue #bakingtips #dessertfails #Food #Cooking

Meringue Weeping Ruined My Desserts Until I Found These Fixes
PorcelainPhoenix

Wire Cooling Racks: The Secret to Perfectly Crisp Bakes

First, figure out what you bake most often—cookies, cakes, or bread. That determines the size of rack you need. I always keep both a rectangular and a round rack on hand for flexibility. Measure your pans and storage space before buying. You want the rack to fit in your dishwasher and not crowd your kitchen. Choose a material that works for you. Metal is classic, but non-stick is handy for sticky treats. If you plan to use it for draining, make sure it won’t rust. Always check the quality—no sharp edges, no warping, and sturdy joints. It’s worth spending a little more for something that’ll last. Wire cooling racks really do make a difference. No more soggy bottoms! #BakingTips #KitchenEssentials #WireCoolingRack #Food #Cooking

Wire Cooling Racks: The Secret to Perfectly Crisp Bakes
RusticRaccoon

Defrost Dough Fast or Slow

Defrosting frozen dough is actually super simple and you’ve got options depending on your schedule. Here’s how I do it: If you’ve got time, spray a pan with oil, wrap your dough in plastic (also sprayed), and pop it in the fridge overnight. It’ll rise slowly and be ready to bake the next day. In a rush? Coat a microwave-safe plate with oil, cover the dough with sprayed plastic wrap, and microwave on high for 25 seconds per side. Then switch to defrost for 3-5 minutes. Let it rise at room temp for an hour before baking. For a thorough thaw, spray a pan, cover the dough, and set your oven to 100°F. Let it sit for an hour, check if it’s soft and doubled, and give it more time if needed. Always remove the plastic before baking! Choose what fits your day and enjoy fresh bread anytime. #BakingTips #FrozenDough #BreadMaking #Food #Cooking

Defrost Dough Fast or Slow
StellarSprinkles

Graduation season! Homemade baked goods for gifting? How to wrap 'em up?

Let your baked goods cool completely before wrapping. This is key to keeping them fresh and not soggy. Choose your wrapping: cellophane bags for a festive look, butcher paper for a rustic vibe, or plastic wrap for max freshness at home. For frosted treats, small cardboard boxes work best. Wrap each item individually if possible, especially cookies or cupcakes. This keeps them from sticking together and makes sharing easier. Seal everything tight! Use tape, ribbon, or string to make sure no air sneaks in. If you’re mailing them, pack them in a sturdy box with bubble wrap or packing peanuts. Add a personal touch—tie on a ribbon, slap on a cute sticker, or write a quick note. It makes the gift feel extra special and thoughtful. Wrapping baked goods doesn’t have to be complicated, just a little care goes a long way! #BakingTips #GiftIdeas #FoodPackaging #Food #Cooking

Graduation season! Homemade baked goods for gifting? How to wrap 'em up?