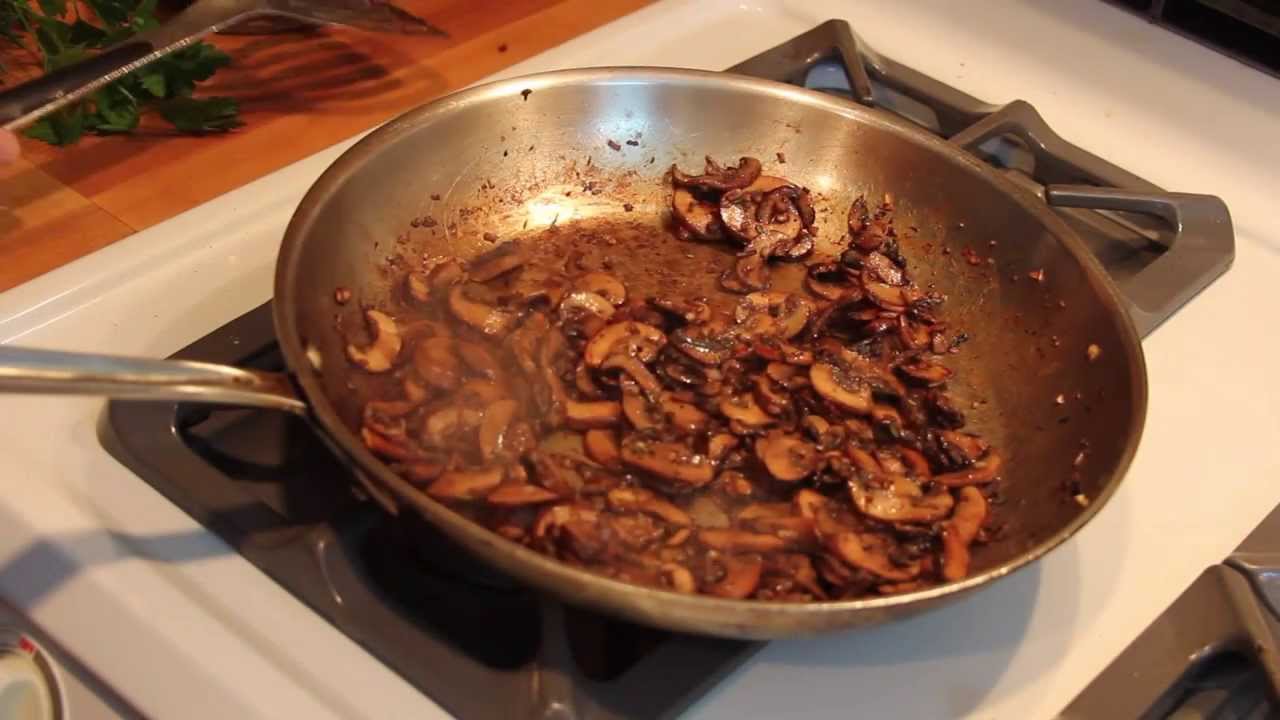
🍳don’t toss out that brown, sticky residue in your pan!
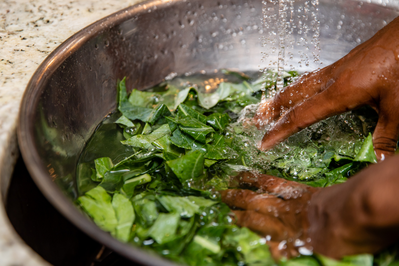
After sautéing or roasting, don’t toss out that brown, sticky residue (fond) left on your pan. That’s pure flavor gold.
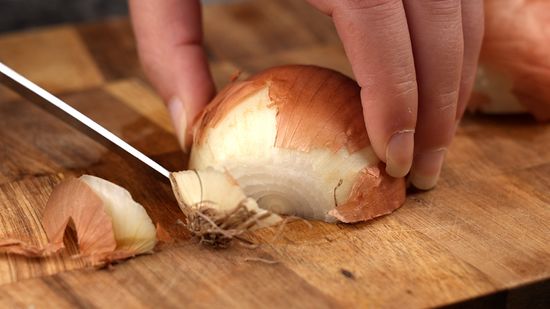
Once your meat or veggies are done, remove them and pour off any excess fat, but keep those crusty bits in the pan.
Pick your deglazing liquid—wine, stock, beer, or even juice, depending on what you’re cooking. Just skip dairy, since it can curdle.
Pour in about a cup of your chosen liquid, slowly, over medium-high heat. Scrape the fond with a wooden spoon as the liquid bubbles.
When the fond dissolves, you’ve got a flavorful base. Pour it over your dish or keep simmering to make a rich pan sauce with aromatics and a swirl of butter.
Deglazing is super forgiving, just avoid burning the fond and you’re set for next-level sauces.
#cookingbasics #deglazing #kitchentips #Food #Cooking