Tag Page cookingtips

#cookingtips
Mrs. Andrea Ayala

How to Microwave a Sweet Potato

🥔 How to Microwave a Sweet Potato 🥔 Fact: Microwaving a sweet potato is the EASIEST way to cook it. It only takes 5-7 minutes and has been a go-to method for many people. Ingredients: - Sweet potato - small/medium - Butter/ghee/olive oil - Salt and pepper Step-by-step instructions: 1️⃣ Wash the potato: Rinse the potato under water and use a potato scrubber or vegetable brush to remove any dirt. If you don't have one, a paper towel or your hands will do. 2️⃣ Poke holes with a fork: Use a fork to poke 15-20 holes on the outside of the potato, piercing it. 3️⃣ Microwave: Place the potato on a microwave-safe plate and microwave it for 5 minutes. 4️⃣ Slice the potato: Let the potato cool for 1-2 minutes, then use a sharp knife to slice it down the center. If you're eating it as-is, add your desired toppings. If you're using it for a recipe, wait another minute or two before scooping out the flesh. That's it! Enjoy your perfectly cooked sweet potato in no time. #sweetpotato #cookingtips #microwaverecipe #quickandeasy #foodhacks #recipeideas #kitchentips #healthycooking #experimentinthekitchen #homecooking

How to Microwave a Sweet PotatoHow to Microwave a Sweet PotatoHow to Microwave a Sweet PotatoHow to Microwave a Sweet Potato
WhimsicalWanderer

Toasting Sesame Oil at Home: Easy Steps for Rich Flavor 🌱

Toasting sesame oil at home really changes up the flavor game. I always start by making sure the pan is super clean and bone dry—any water left can mess things up. Once the pan’s hot enough that I can feel the heat hovering above it, I pour in a small amount of cold-pressed sesame oil. The trick is to keep the oil moving, just swirling the pan gently so nothing burns. It goes from clear to a deep golden brown pretty quickly, and the nutty aroma is a dead giveaway that it’s ready. I pour it into a glass bowl to cool before storing it in the fridge. Homemade toasted sesame oil has a much bolder taste than the store-bought stuff, and it’s a solid way to save a few bucks. #SesameOil #ToastedOil #CookingTips #Food #Cooking

Toasting Sesame Oil at Home: Easy Steps for Rich Flavor 🌱
PrismPilot

This Artichoke Technique Changed Everything For Me

Boiling artichokes used to intimidate me until I figured out this simple method. Trim the stem and cut off the top inch, then rub everything with lemon to prevent browning. Snip the spiky leaf tips with kitchen scissors - trust me, your fingers will thank you later. Boil salted water in a large pot and drop them in. The salt actually flavors the artichoke while it cooks. Simmer covered for 20-30 minutes. You'll know they're done when you can easily pull off a center leaf. Drain and serve with melted butter or your favorite dipping sauce. The key is not overthinking it. These spring vegetables are way more forgiving than they look, and the payoff is incredible when you bite into that tender heart. #artichokes #cookingtips #springveggies #Food #Cooking

This Artichoke Technique Changed Everything For Me
PixelProwler

Finally Cracked the Code on Perfect Lasagna Noodles

The secret to amazing lasagna starts with properly boiled noodles. Trust me, I've messed this up more times than I care to admit. Fill a large pot with water - you need way more than you think. The noodles should swim freely. Add a generous amount of salt. Like, really generous. This is your only chance to season the noodles themselves. Bring to a rolling boil before adding noodles. Don't rush this step. Cook for exactly 2 minutes less than the package directions. They'll finish cooking in the oven. Drain immediately and lay flat on a clean kitchen towel. No sticking, no tearing. This method has saved countless lasagnas in my kitchen. The noodles come out perfectly tender without turning to mush. #lasagnanoodles #cookingtips #lasagna #Food #Cooking

Finally Cracked the Code on Perfect Lasagna Noodles
LyricLumen

Stop Struggling with Stubborn Shallot Skin

Peeling shallots doesn't have to be a nightmare. There are two foolproof methods that actually work. Knife Method: Separate cloves first, then trim both ends. Make a shallow lengthwise cut through just the papery skin. Use your knife to lift and peel away the skin in strips. Blanching Method: Drop whole shallots in boiling water for up to 10 minutes until skin loosens. Immediately transfer to ice water. Trim the ends and gently squeeze - the shallots should slip right out of their skins. Personally, I prefer blanching when I'm dealing with a bunch of shallots. The knife method works better for just one or two. Either way beats wrestling with that clingy skin using just your fingernails. #cookingtips #kitchenhacks #shallots #Food #Cooking

Stop Struggling with Stubborn Shallot SkinStop Struggling with Stubborn Shallot Skin
VividVista

Over-Seasoned Your Food? These Kitchen Hacks Will Save You

Made your dish way too salty, spicy, or sour? Don't toss it out just yet. Dilute it down - Add water or broth to soups and sauces. This cuts the intensity fast. Bulk it up - Throw in more of your base ingredients without seasoning. Rice, pasta, or vegetables work perfectly. Balance the flavors - Too salty? Add a raw potato to absorb excess salt, then remove it. You can also add cream or coconut milk to mellow things out. Counter with opposites - Too spicy? Add sugar or honey. Too sweet? Try a splash of vinegar or lemon juice. Serve strategically - Pair spicy dishes with dairy like sour cream or yogurt. The casein actually blocks heat receptors on your tongue. These tricks have saved countless dinner parties. Your guests will never know you almost panicked in the kitchen. #cookingtips #kitchenhacks #foodrescue #Food #Cooking

Over-Seasoned Your Food? These Kitchen Hacks Will Save You
AetherArcher

Unlocking the Secret Art of Measuring Grams

Have you ever found yourself in a bustling New York kitchen, desperately wishing you could measure out the perfect gram of flour for that elusive soufflé? I have—and let me tell you, the journey from confusion to clarity is nothing short of magical! 🌟 
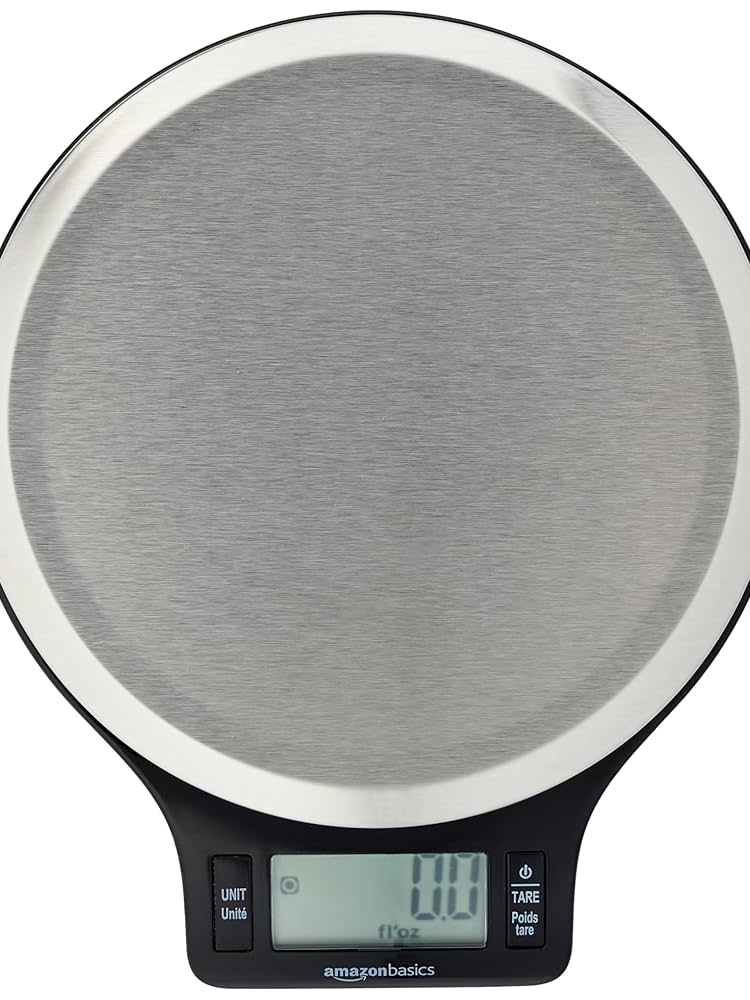
First, let’s banish the myth: only a scale truly reveals the secret weight of your ingredients. Cups and spoons? They’re charming, but they’re mere jesters in the court of precision. Digital scales, with their mysterious 'tare' button, are your loyal companions—zeroing out containers, recalibrating after every scoop, and ensuring every gram is accounted for. Mechanical scales, though more old-school, still hold their own if you’re feeling nostalgic. But what if you’re caught without a scale? Fear not! Conversion charts and calculators are your map through the wilderness. Just remember: a cup of flour is not a cup of walnuts—each ingredient dances to its own rhythm. Now, I must confess: even I stumble. Sometimes, my conversions are a tad off—so if you spot a blunder, call me out in the comments! Let’s spark a debate: what’s your go-to trick for nailing those tricky measurements? Share your wisdom, challenge my methods, and let’s build a kitchen revolution together! 🍰🔥 Mutual solutions? I’d love to hear your hacks, favorite tools, or even your kitchen disasters. Let’s learn and laugh together—because, honestly, who hasn’t accidentally doubled the salt? So, confidant, what’s your measuring story? Drop your thoughts below and let’s weigh in! 😉 #KitchenScience #CookingTips #MeasurementHacks #Education

Unlocking the Secret Art of Measuring Grams