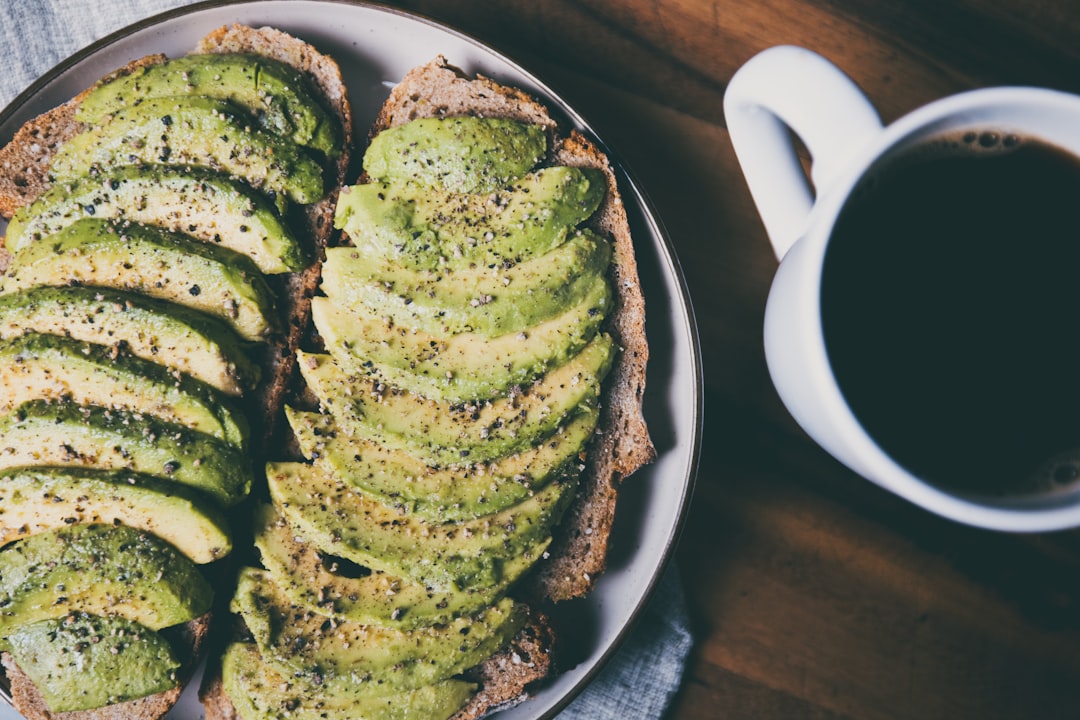
VelvetVoyager91+FollowAvocado Slicing Made Easy for Toast Lovers!Cut your avocado in half and remove the pit. Gently peel each half—no need to scoop, just peel the skin right off. Place the avocado flat-side down on your cutting board. Slice it vertically into thin, even strips. This is the trick for that restaurant-style look! Use the back of your knife to pick up the slices without squishing them. Lay the strips out on your toast or plate, then top with your favorite seasoning. I’m obsessed with everything but the bagel seasoning and a drizzle of hot honey. Instantly feels fancy and tastes amazing! Try this method for your next brunch or snack—your avocado toast will look and taste next-level. #avocadotips #toastupgrade #kitchenhacks #Food #Cooking10Share
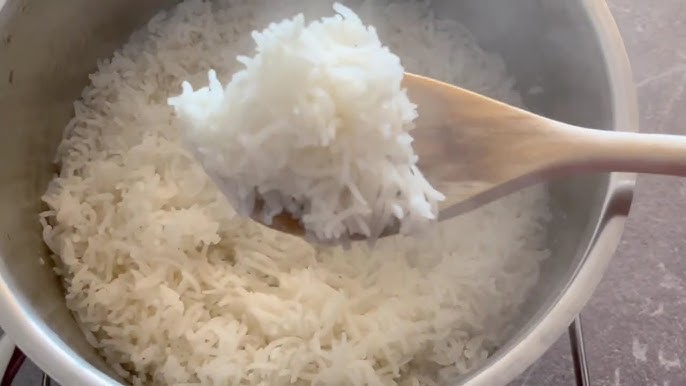
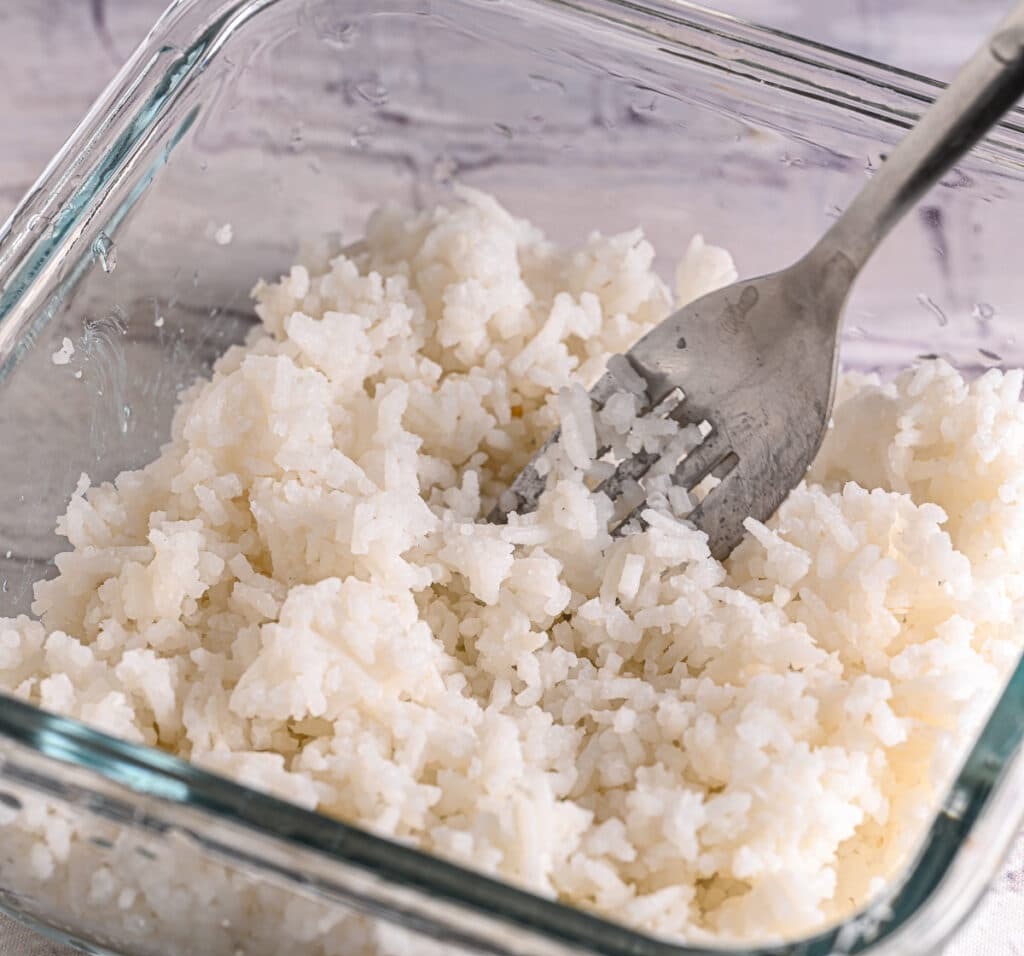
LunarWhisper+FollowFluffy Rice Every Time: My Foolproof StepsOnce your rice is cooked, take the pot off the heat and let it sit with the lid off for 10 minutes. This is the secret to letting the steam escape and getting that perfect texture. If you’re worried about flies, just drape a clean cotton tea towel over the pot. Works like a charm! Grab a carving fork or rice paddle and gently fluff the rice for about a minute. Don’t use a spoon—trust me, it’ll make the rice mushy. Just break up any lumps and let the grains separate. Want to add some flavor? Try cooking your rice with chicken stock, or sauté garlic and onions before adding the rice. You can even mix in coconut milk, scallions, or a bit of brown sugar for a twist. Store leftovers in an airtight container in the fridge for up to 5 days, or freeze for up to 6 months. Fluffy rice is always ready for your next meal! #fluffyrice #ricetips #kitchenhacks #Food #Cooking400Share
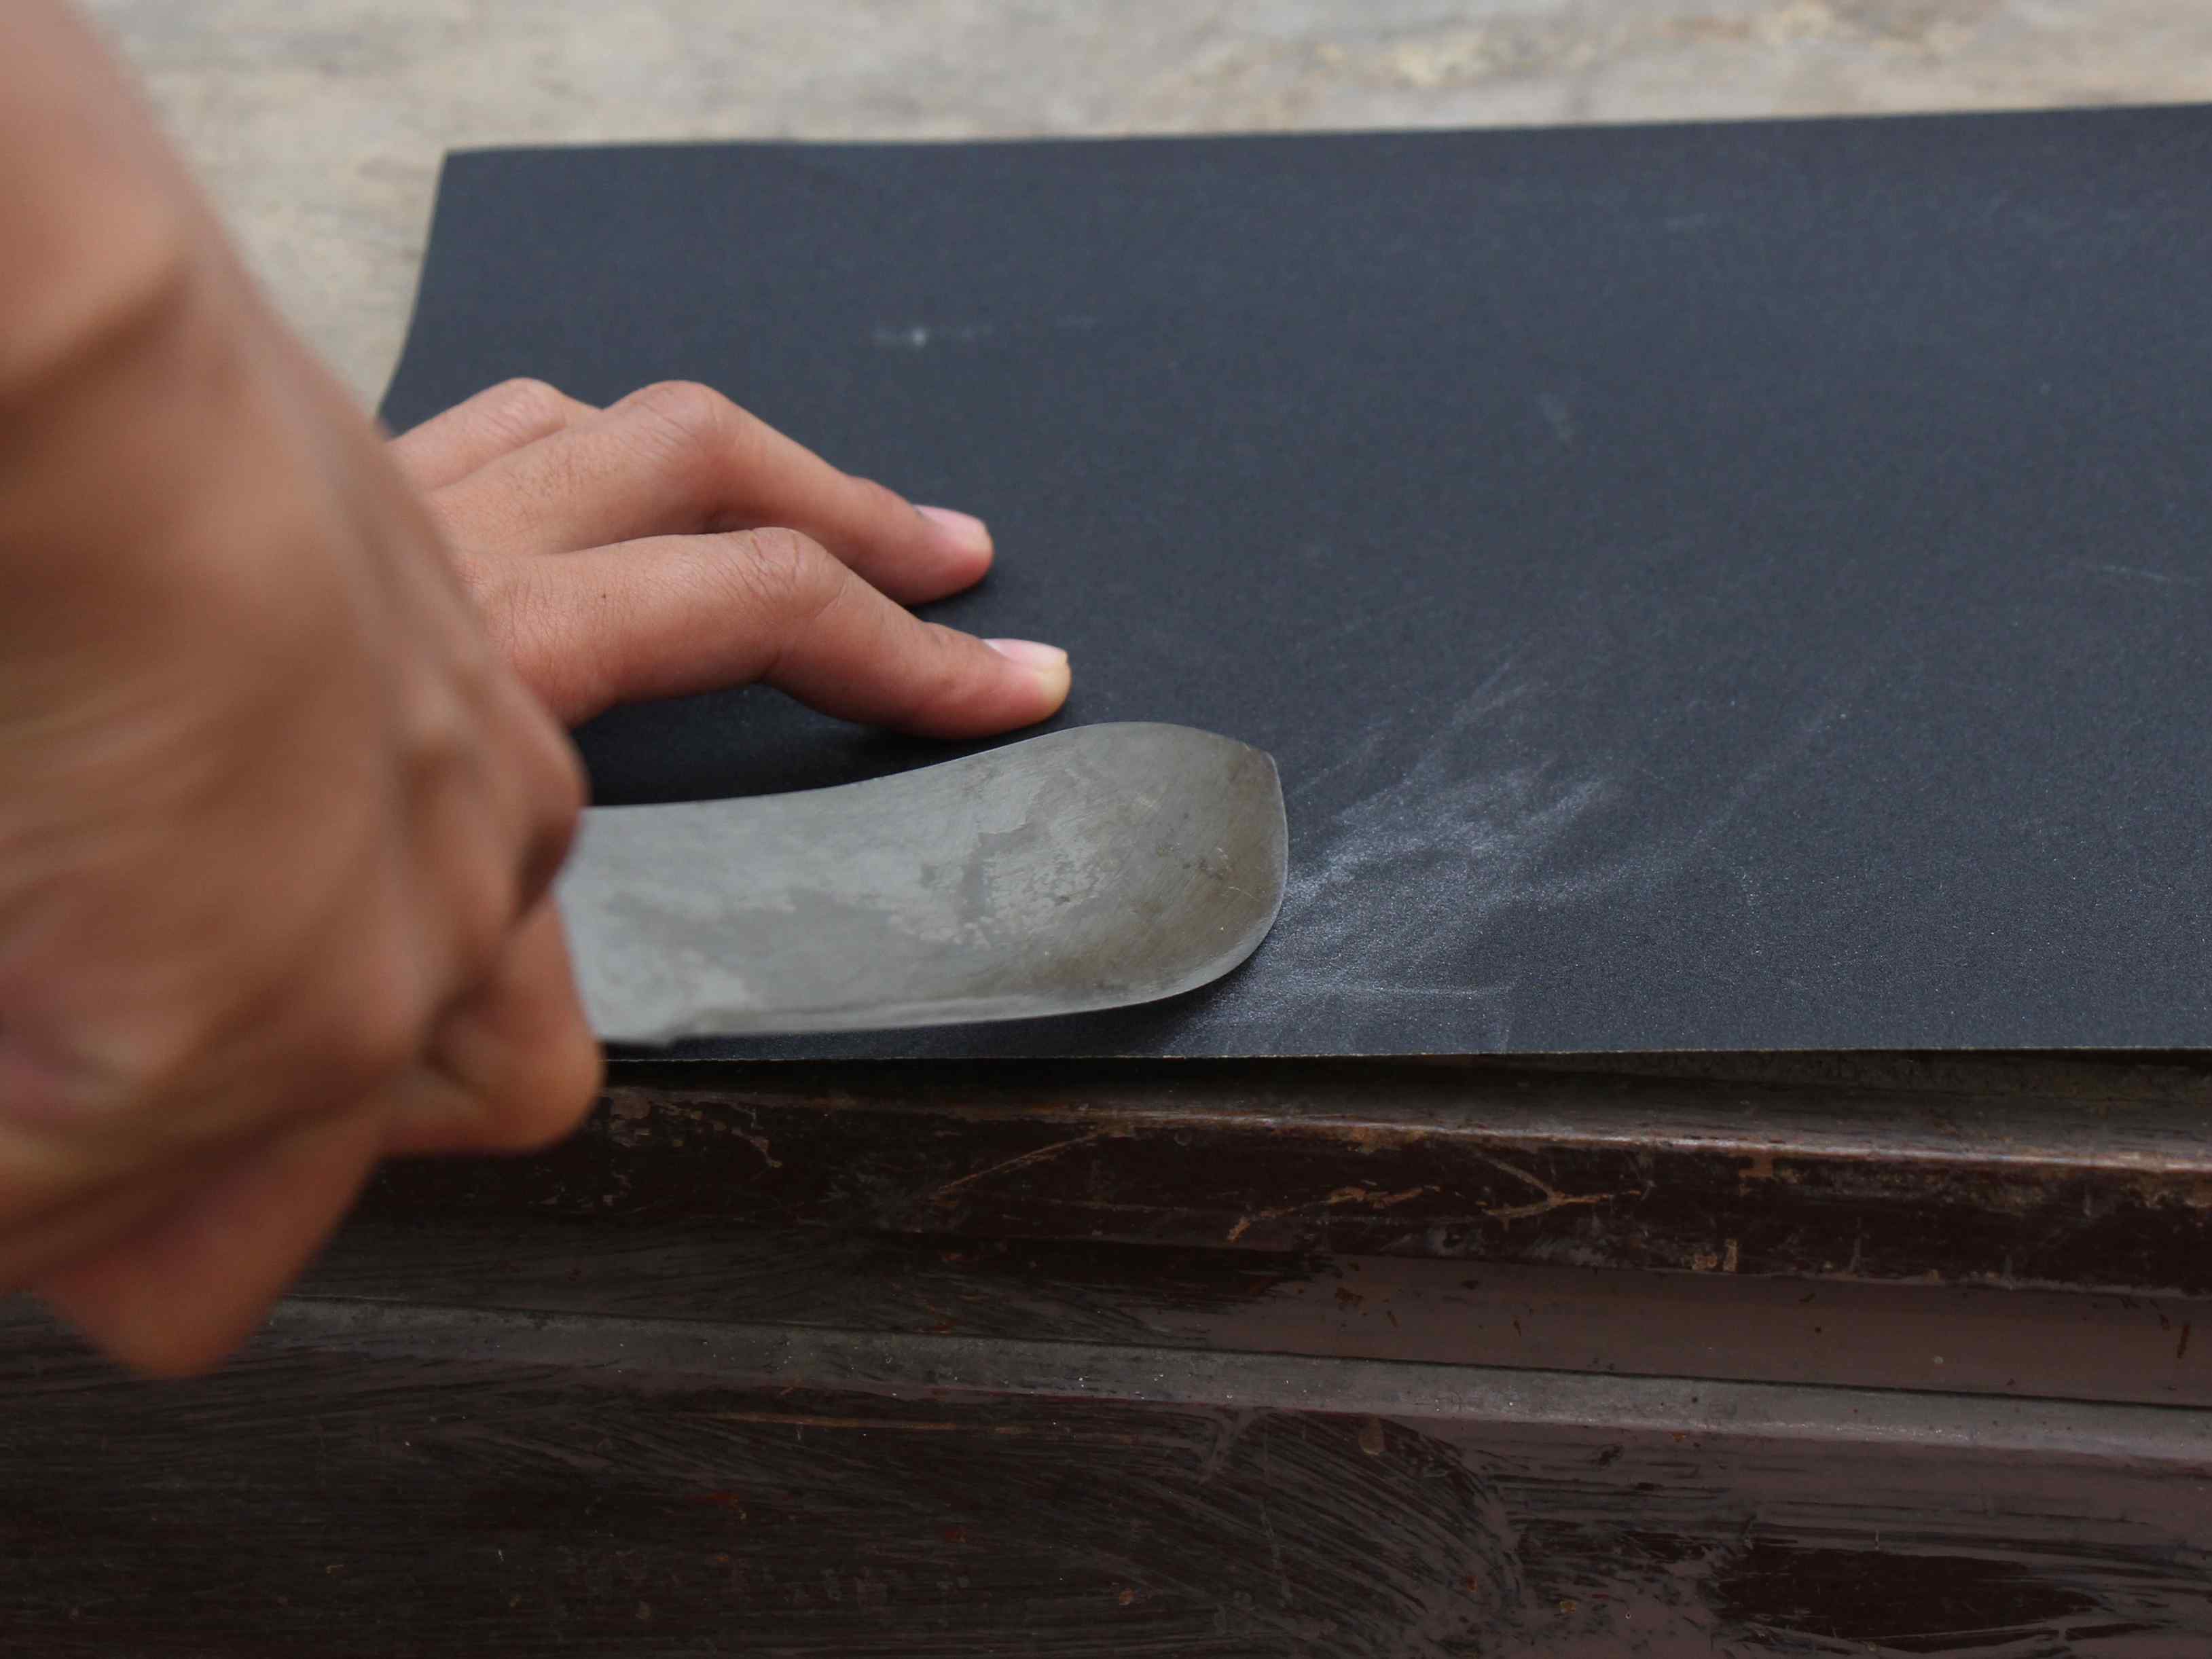
EchoingEden+FollowSharp Knives with Just Sandpaper? Here’s How I Do ItGrab a sheet of #180 or #240 grit "Wet-or-Dry" silicon carbide sandpaper. These are cheap and easy to find at most hardware stores or even Walmart. Lay the sandpaper, grit side up, right at the edge of a flat surface like your kitchen counter or a sturdy cutting board. This makes it way easier to control the knife. Hold your knife by the handle and slide the blade across the sandpaper at about a 20° angle. Imagine you’re slicing a thin layer off the sandpaper. Always move the knife forward, never backward or in circles. Don’t press too hard—just steady, even strokes. Flip the knife and repeat the same motion on the other side. Alternate sides every few strokes to keep things even. If your knife has a curve, lift the handle a bit as you move to make sure you hit the whole edge. This method is surprisingly effective and keeps my knives sharp without any fancy tools. #KitchenHacks #KnifeSharpening #DIYTips #Food #Cooking41Share
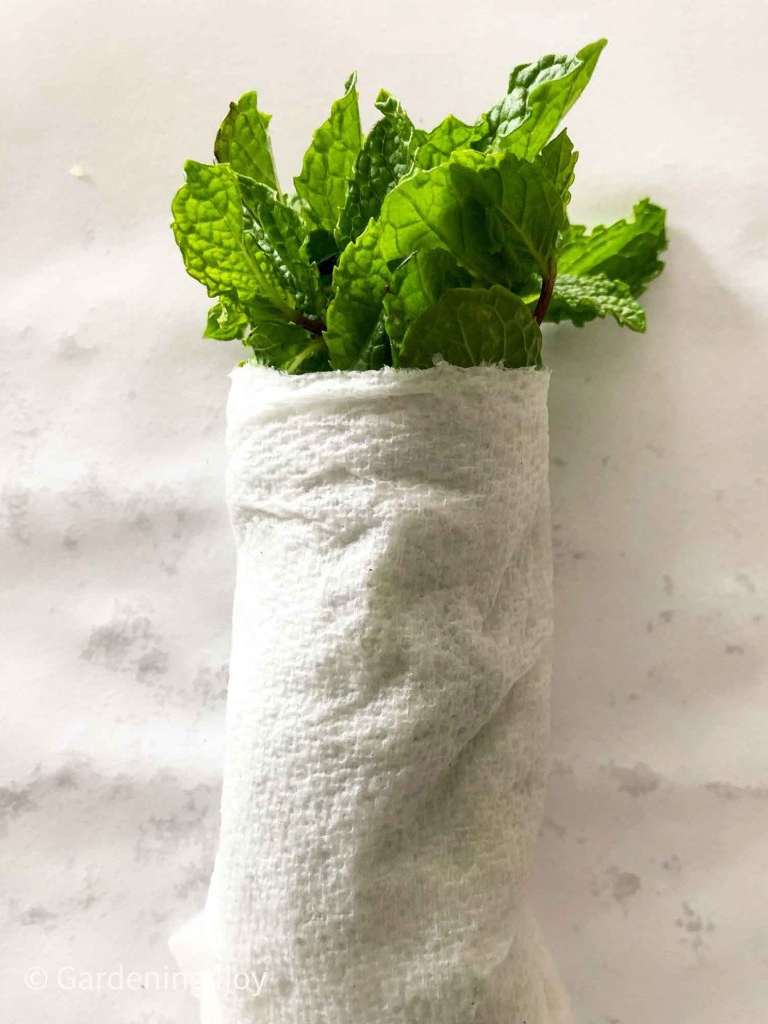
GlimmerGoldfish+FollowFresh Mint for Weeks: Easy Storage HacksRinse your mint leaves under cool water and pat them dry with a towel. Clean herbs always last longer. Lay out 2-3 sheets of paper towel, dampen them (not soaking!), and spread the mint leaves in a single layer. Roll the paper towel up semi-loosely with the mint inside, then pop the bundle into a plastic bag or airtight container. Store it in the fridge. This keeps your mint fresh for up to 3 weeks! For a different method, snip the ends of mint stems at a 45° angle, stand them in a glass with water (like a bouquet), cover loosely with a plastic bag, and refrigerate. Change the water when it gets cloudy. Both ways work great, but I find the paper towel trick is super low-effort and keeps the leaves from getting slimy. #MintStorage #FreshHerbs #KitchenHacks #Food #Cooking10Share
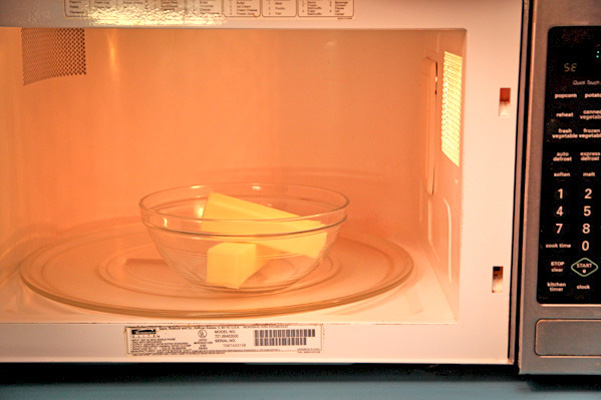
DazzleDune+FollowAll butter knowledge you want to knowCut your butter into small pieces for quicker, even melting. Decide how much you need—remember, 1 stick = ½ cup = 8 Tbsp. For the microwave, toss the pieces in a microwave-safe bowl, cover with a paper towel, and zap on low in 10-second bursts. Stir and check each time until it’s just melted. Don’t forget to take out any silverware before microwaving! On the stove, use low heat. Stir the butter in a small saucepan until it’s about ¾ melted, then turn off the heat and let the residual warmth finish the job. This keeps it from burning or browning. Both ways are super easy, but the microwave is faster if you’re in a rush. For baking or sauces, melted butter blends like a dream. #ButterTips #KitchenHacks #BakingBasics #Food #Cooking00Share
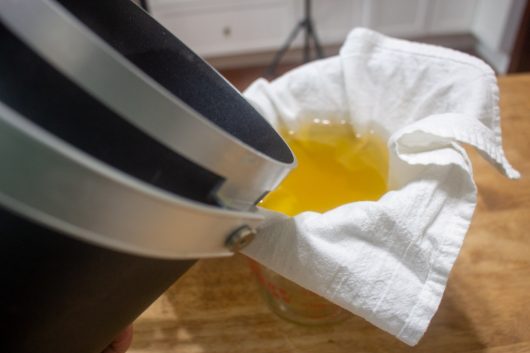
VividVortex+FollowHow to Clean and Reuse Dark Cooking Oil?After frying, use a skimmer to scoop out any big chunks of food left in the oil. This helps keep it from getting too cloudy. Let the oil cool down completely. Then, strain it through a fine-mesh strainer or cheesecloth into a clean bowl. Don’t rush—if you see a lot of sediment at the bottom, leave it behind. Pour the strained oil back into its original container (if it’s empty) using a funnel. Make sure the oil is cool before pouring into plastic. Store the oil in a cool, dark place—never above the stove. The fridge works too, but it’ll look cloudy until it warms up. Always label your container with what you cooked and the date. Only reuse oil for similar foods, since flavors linger. If the oil smells off, looks foamy, or is super dark, it’s time to toss it. #CookingTips #KitchenHacks #ReuseOil #Food #Cooking10Share
WhirlwindWhiz+FollowEasy Steps to Dry Ginger and keep Fresh at HomePick out fresh ginger by snapping a piece off—if it breaks clean and smells spicy, you’re good to go. Rinse off any dirt, then peel the skin with a potato peeler or a sharp knife. Thin skin is best for drying. Slice your ginger into super thin pieces, about 1/8 inch thick. Thinner slices dry faster and more evenly. For sun drying, lay slices on a tray (no overlap!) and leave them in a sunny spot for 3 days to a week. For oven drying, bake at 150°F for 1.5-2 hours, checking every 30 minutes. Food dehydrator? Set to 135°F for 3-4 hours. Once dry and snappy, cool completely and store in an airtight container for up to 6 months. Homemade dried ginger is way more flavorful than store-bought! #GingerDIY #NaturalRemedies #KitchenHacks #Food #Cooking30Share
Alison+FollowGarlic Smell on Your Hands? Try These Easy Fixes!Garlic is amazing in food, but that lingering smell on your hands? Not so much. Here’s what actually works: Mix salt and baking soda with a little water, scrub your hands, and rinse. Super effective! Squeeze lemon juice and sprinkle salt, then rub your hands together. Just avoid if you have cuts. Grab a stainless steel spoon, run it under cold water, and rub your hands with it for a minute. Coffee grounds or instant coffee can scrub away the smell—just rinse well after. Splash white vinegar on your hands, rub, and rinse. The vinegar smell fades fast. I’ve tried all of these and honestly, the stainless steel trick is my go-to. What works best for you? #KitchenHacks #GarlicTips #CookingSmarter #Food #Cooking20Share
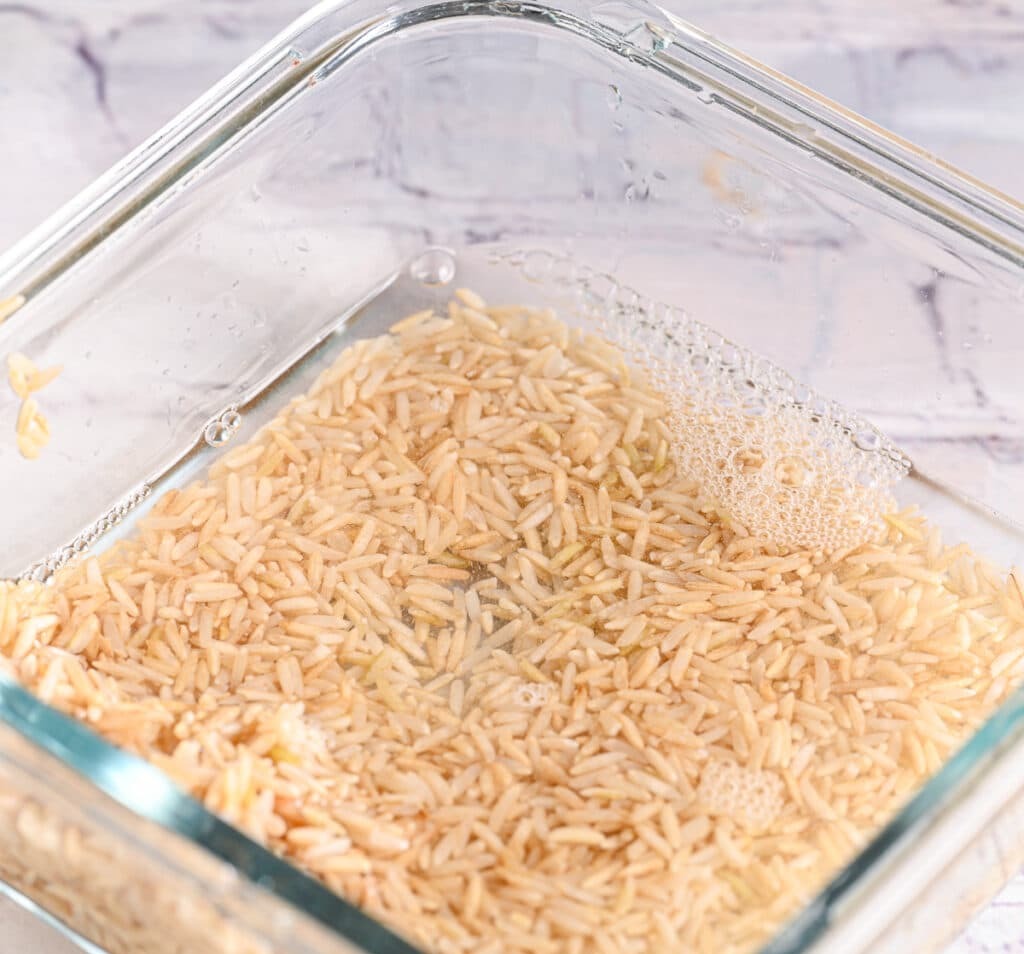
Patrick Pope+FollowMicrowave Rice in Minutes—No Fuss, Just FluffyRinse 1 cup of white rice under cool water until it runs mostly clear. You can even do this right in your microwave-safe dish to save on cleanup. Add 1.5 cups of water to the rice. Toss in a pinch of salt or a teaspoon of oil or butter if you want extra flavor. Use a big enough dish so it doesn’t bubble over. Microwave uncovered on High for 8-10 minutes. When most of the water is gone and you see steam holes, you’re good. Cover the dish and microwave for another 4 minutes on High. Don’t stir between steps. Let it rest for 5-6 minutes, then fluff with a fork. Add herbs, cheese, or veggies if you’re feeling fancy. Super easy, and honestly, the texture is awesome! #MicrowaveRice #EasyCooking #KitchenHacks #Food #Cooking20Share
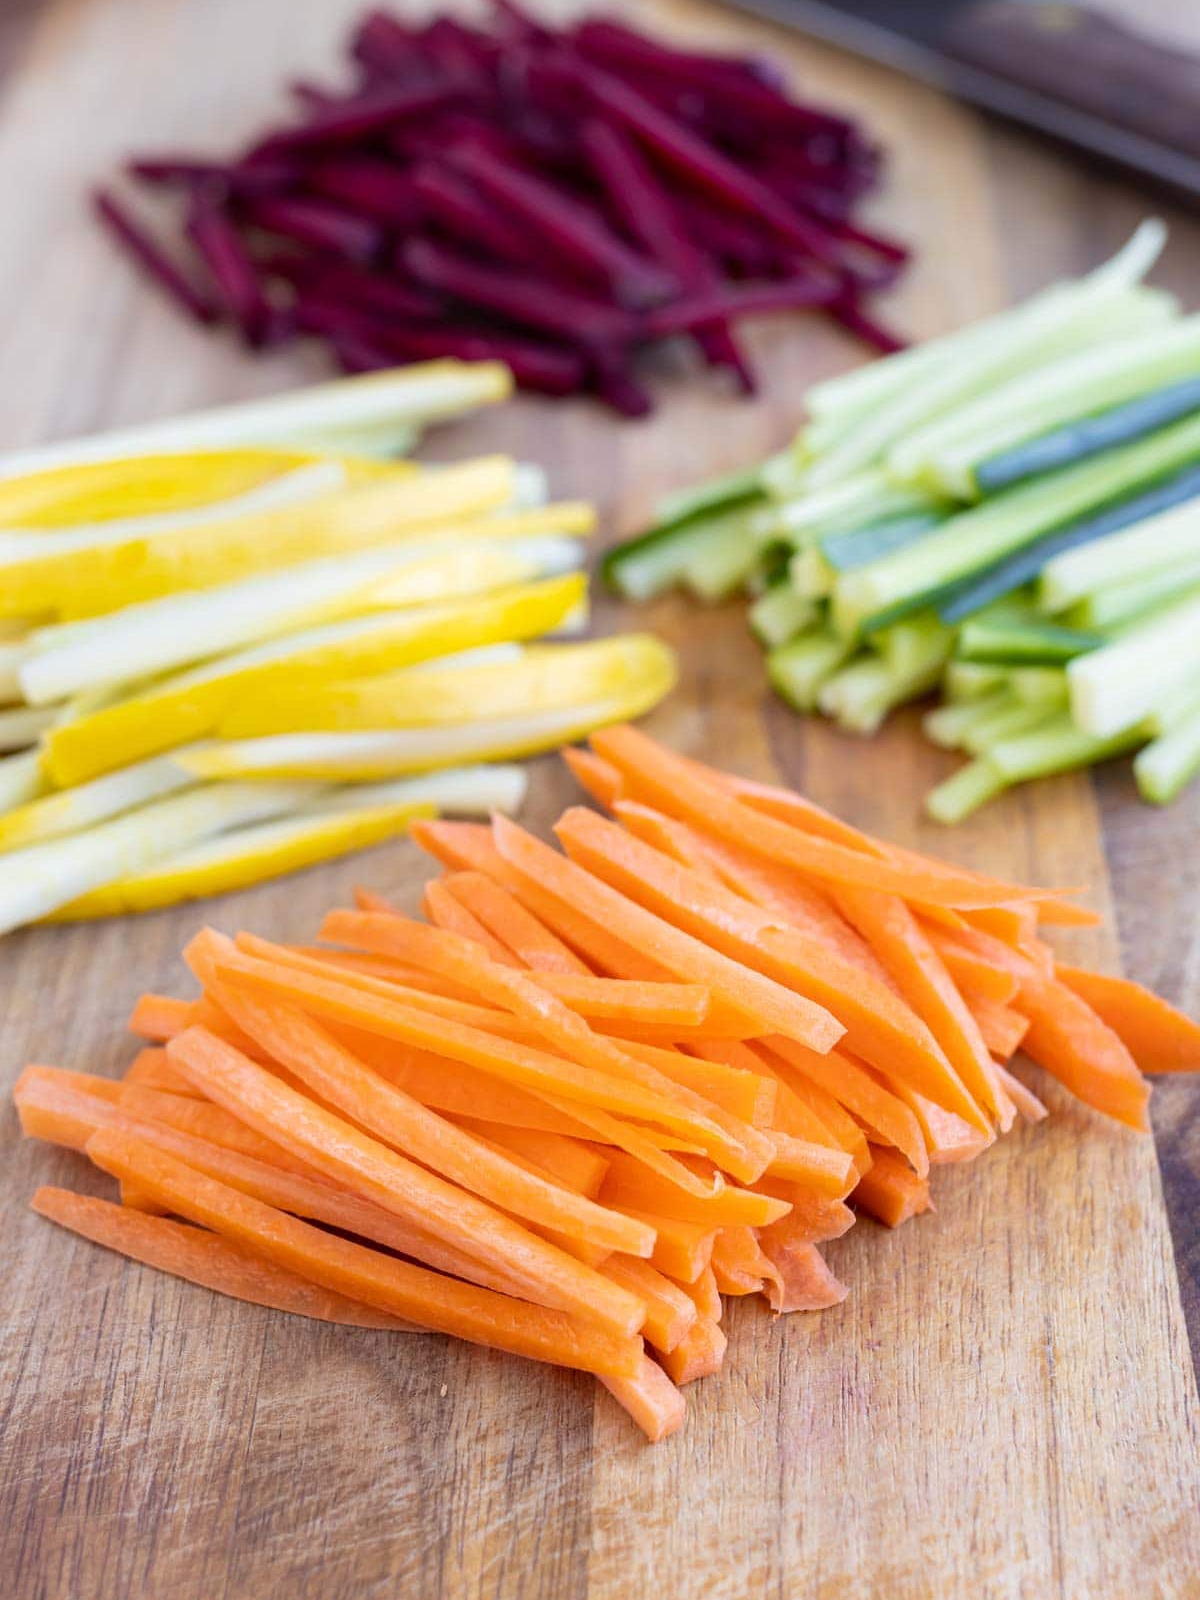
DriftDolphin+FollowJulienne Veggies in Minutes: Two Simple WaysStart by washing and trimming your veggies. If you’re working with root vegetables like carrots or beets, peel them first. For the classic julienne, chop your veggies into 2-inch chunks. Square off the sides so they’re easier to handle, then slice into thin planks about 1/8 inch thick. Stack those planks and cut again into skinny matchsticks. Super satisfying! If you want to save time, try the angled method. Slice your cylindrical veggies at a steep angle, making long, thin slabs. Lay those flat and cut into matchsticks. This way, you skip squaring off the sides, and your sticks come out a bit longer. Both techniques make salads and stir-fries look extra fancy, and it’s honestly easier than it looks. #kitchenhacks #julienne #vegetableprep #Food #Cooking60Share